DIY your garden throughout July with our top 4 projects for your garden. Follow along with our week by week guide over Winter to have your garden ready coming into Spring.


WEEK 1 – ADD SOME LIGHT TO YOUR GARDEN
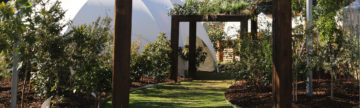
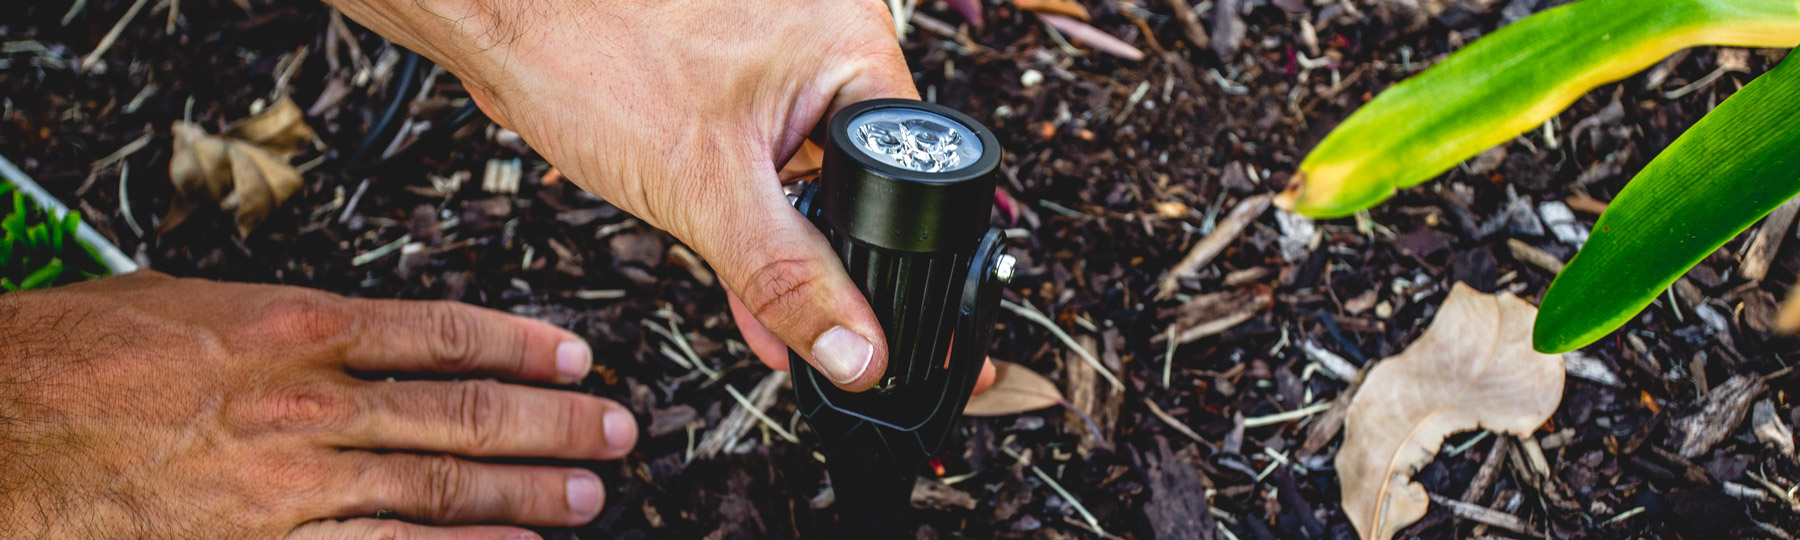
Upgrade the look and feel of your backyard coming into Spring. Well placed spotlights draw attention to any feature plants and well placed path lights make gardens feel expansive. All while adding mood and character to a home party or BBQ. Our Wi-Fi Controlled garden lights are a great option for DIY homeowners looking to increase the visibility in their gardens and the security around their homes.
Our smart garden lights can be scheduled to turn on when you arrive home, so you can always be welcomed to a bright home and garden. Some points to consider are what kind of lights will you be using, where your Garden Light Controller is located, and who has access to adjusting your Garden Lights.
Once you have decided on what areas in your garden need lighting, it’s time to pick a colour system that suits your home – Warm White or RGB Colour. Both of our colourways are available in Wi-Fi models. Please note that the two colour options are not compatible with each other. For a full guide on choosing the correct lighting for your home, we have a handy blog here. We also have tutorials on how you can install our Deck Lights yourself.
As an easy starting place, our Spotlight Value Packs give you 4 x 43mm Spotlights to use in your garden. For the best way to create to connect multiple packs together, use our guide below or you can read the full article here.


WEEK 2 – SET UP YOUR OWN RETRACTABLE HOSE REEL
Using a Retractable Hose Reel over a regular hose can help in keeping your garden neat and tidy. The compact design makes it ideal for mounting against a wall or on a garden post. The brackets feature a quick release design, making it easy to unlatch the hose reel and carry it to an alternate location.
Our Retractable’s come included with all of the hose fittings and screws required for installation. Setting up a Retractable can be done in about 5-10 minutes, with only the bracket needing to be installed, then you are good to go!
- Mark out the four drill holes with a pencil.
- Once you have finished marking, drill the holes using the correct drill bit size.
- For the correct drill bit size, please refer to the guide included with your instruction manual.
- Insert the wall plugs into the holes and tap in with a hammer.
- Position the wall bracket of the wall plugs and screw all four bolts into place.
- Place the hose on the bracket and insert the pin to lock it in place.
- When you’re ready to water, pull the hose out to any position and gently tug it to lock it in place.
- Ensure that the tap has been turned off, and excess water has been drawn from the hose before retracting.
- To retract the hose, give it a tug and let it retract into the reel housing. Do not let go of the hose and guide it back into place.
For a full guide on how to set up a Retractable Hose Reel, you can watch our tutorial here.


WEEK 3 – UPDATE WATERING TO POTS OR GARDEN BEDS
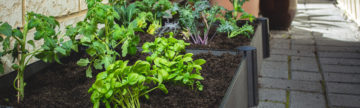
Adding a Micro Irrigation system to your home can save you hours of manual watering. Utilising poly pipe, flex tube and a few micro fittings, you can have a whole automatic system set up, designed for your garden! Micro Irrigation systems are ideal for minimising water wastage and ensuring your plants are getting the exact amount of water they need.
Micro Irrigation systems do require a variety of different fittings and different types of poly pipe. Both of our guides below have shopping lists, so you know exactly what you need to get before starting the job.
If you have lots of pots or small garden beds around your home, we have a step by step guide here on how to set up your own custom irrigation.
If you have pop up sprinklers currently set up, we have a guide on how you can convert one of your pop ups into a Drip Irrigation system. Check out our tutorial here.


WEEK 4 – SET UP A PROPAGATION STATION
Our 4 Tier Greenhouse is the perfect way to start out growing from seeds! They come with an irrigation system to make watering and growing even easier. The installation is fairly simple, so you can set up and grow all in the same afternoon. Using a Greenhouse over Winter also means that you don’t have to halt growing herbs and veggies because the weather is cooler. Seasonal planting and growing allows you to make the most of each season and what plants are available, while still being able to enjoy time in the garden.
Some of our favourite winter herbs and veggies to start growing include:
- Onions
- Shallots
- Garlic
- Spring Onions
- Spinach
- Broad Beans
- Snow Peas
- Asparagus
- Lettuce
- Carrots
- Pak Choi
- Beets
- Brocolli
- Brussel Sprouts
- Cabbage
- Cauliflower
For a full guide on how to set up a greenhouse, check out our blog here!
Get more practical gifts, straight to your inbox!
If you want to get notified as soon as we publish a blog, sign up to our newsletter! You’ll also receive exclusive deals and be the first to know about any new products.