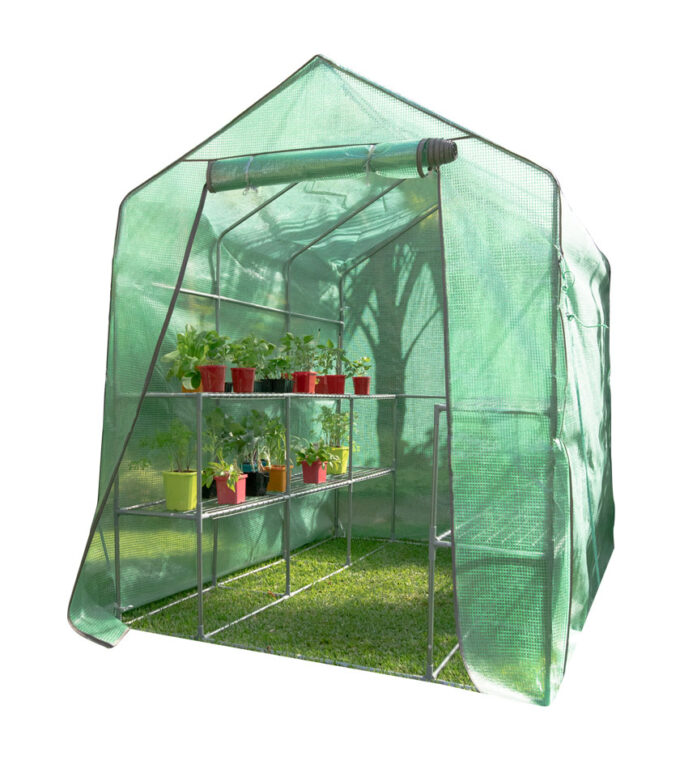
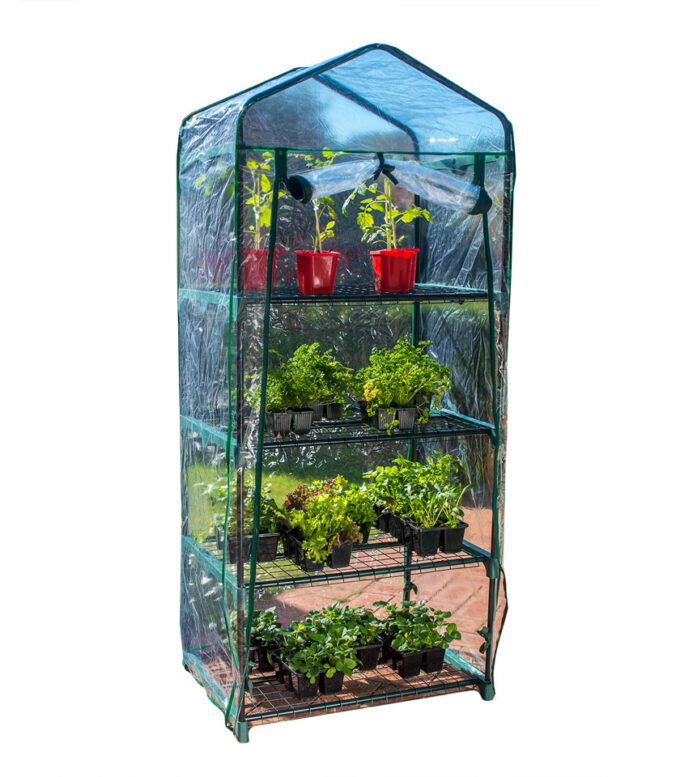
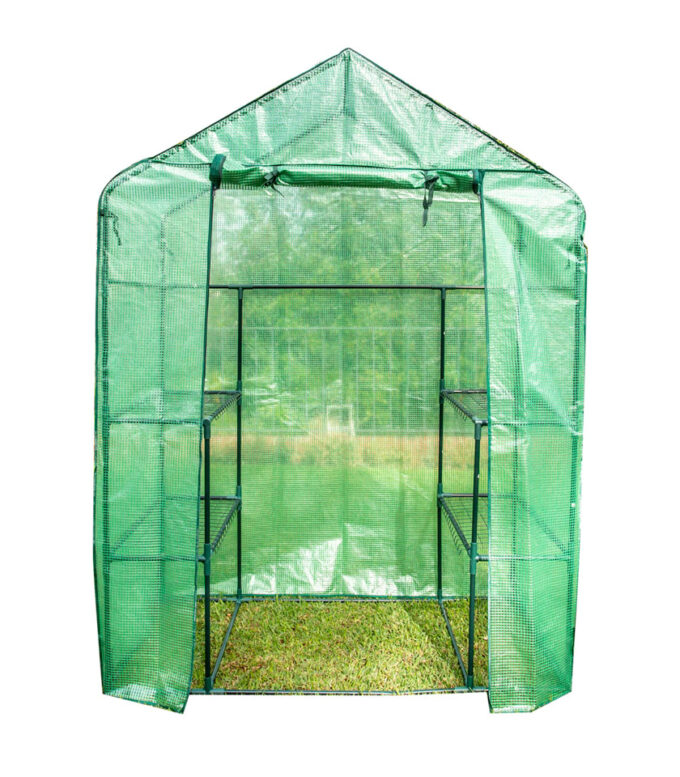
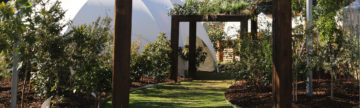
Sheltered from wind, rain and the cold, Greenhouses are the perfect solution for growing your own seedlings!
They allow you to control the temperature and humidity, so you can grow seeds at any time of the year. Our range of Greenhouses all include a Misting Kit, creating that perfect humid environment which is ideal for seed growth.

Planning
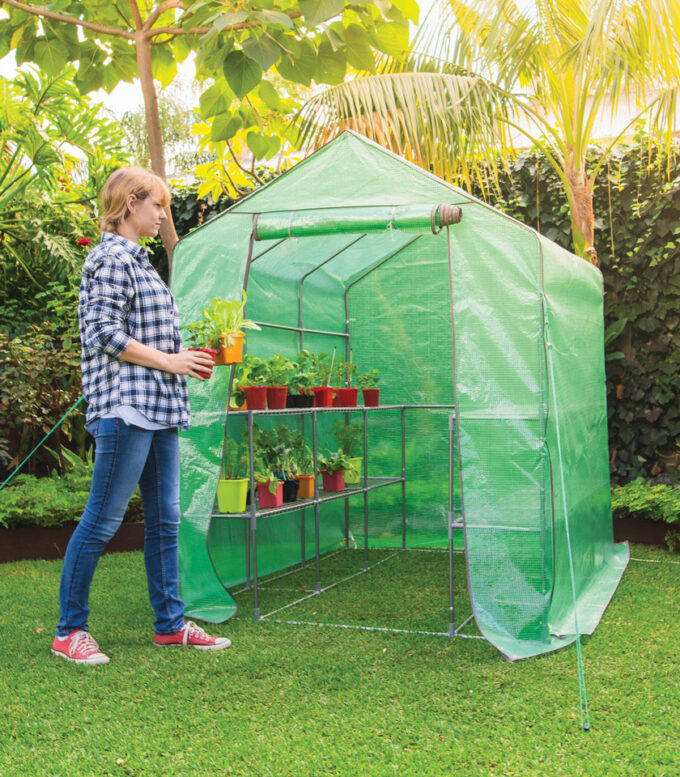
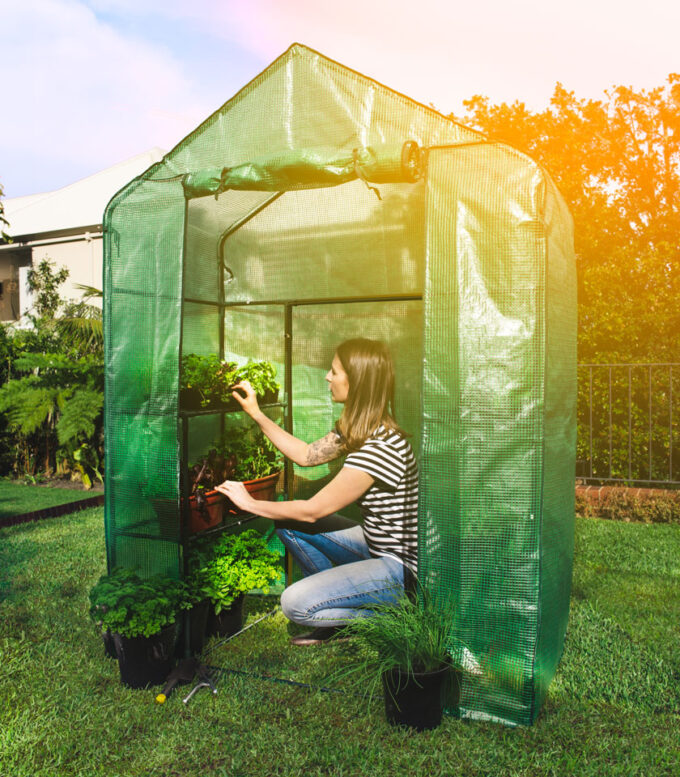
The seedlings in your Greenhouse will want an outdoor full-sun to part-sun position all year round, depending on the climate of your location. We have a range of Greenhouses available to suit any outdoor space, ranging from balconies to large gardens. There are no tools, bolts or screws required. Hand assembly is recommended – making this a great family project!

When positioning your Greenhouse, take a look at your local climate. Warmer cities, where the temperature reaches over 30º, a slightly shady or protected location is required. This is so your seedlings do not overheat. In windy or coastal locations, we recommend weighing down the base of your Greenhouse. Use a heavy object like a brick or a pot to ensure it does not tip over in wind gusts.
Temperature Control
Opening and closing the cover door will regulate the humidity and temperature of the Greenhouse. Keep the door open most days so your plants do not overheat, especially in summer. Closing the door on cold days and at night ensures your Greenhouse maintains a warmer temperature. Closely monitor the temperature of your Greenhouse for the best success, most seeds will prefer 21º – 27ºC.

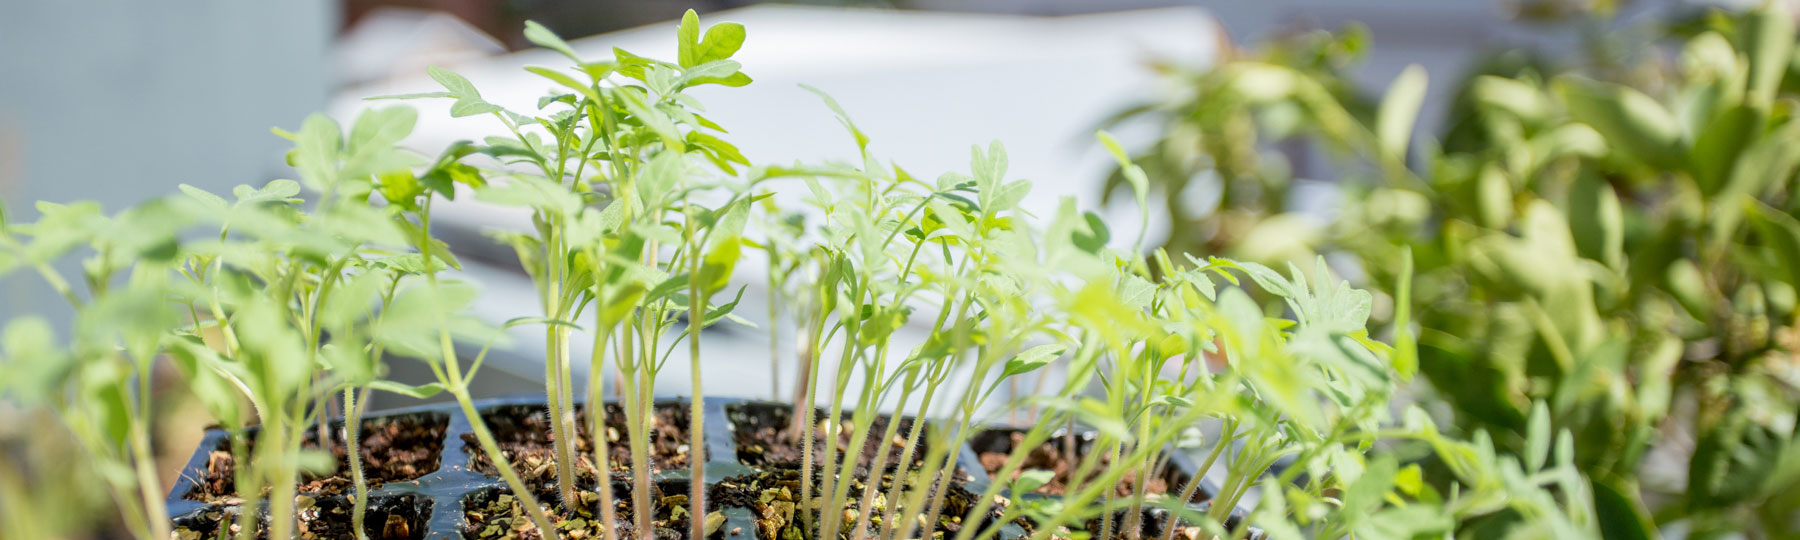
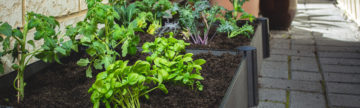
Sow Your Seeds
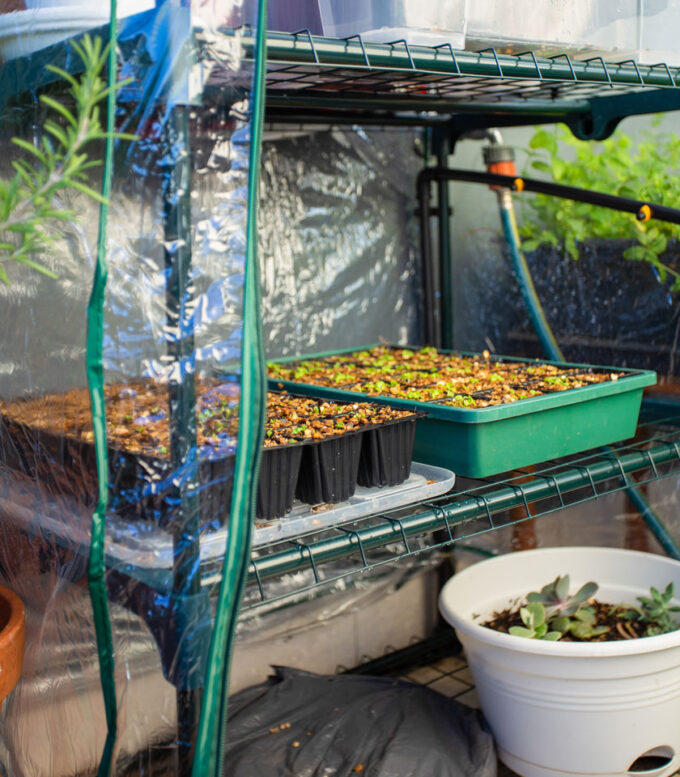
Fill your seed trays with Seed Raising Mix for optimal results. Gently smooth off any excess soil and do not compact the soil! Gently place two or three seeds into each punnet, then lightly cover in more Seed Raising Mix. Give each seed tray a good misting, and then place them on the Greenhouse shelves.


* Handy Tip: Make sure to label each tray so you know what they are!
Watering your Seed Trays
Once your seeds are inside the Greenhouse, connect a hose from your tap and click it into the hose connection at the base of the Greenhouse. When the tap is turned on, the misting system will operate.
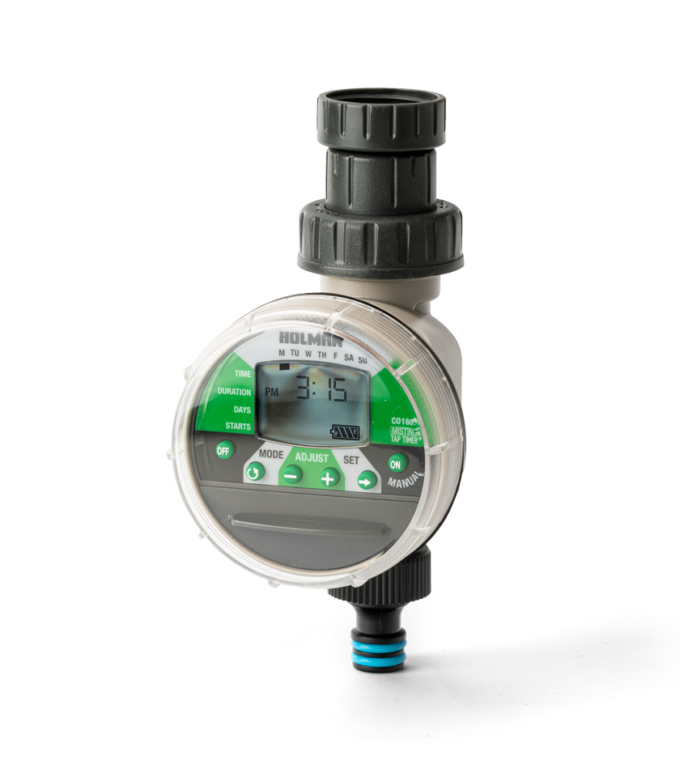
You can also connect the misting system to a Holman Misting Tap Timer. This will provide your seedlings with regular automated watering.
The length of watering will vary depending on the location of your Greenhouse and how many seedling trays you have within it. To grow seeds well, they require consistently moist soil. We recommend checking the soil moisture after the first few waterings and altering the schedule as necessary.


Caring for Your Seedlings
Once your seedlings have started to grow you will need to thin them out if you have more than one in a single seed punnet. Otherwise, your seedlings will start competing for light, water and nutrients. You can start thinning out your seedlings once they have a few sets of leaves. Keep in mind, to thin out the weakest ones so that only the strong seedling is left growing in each punnet.
Once your seedlings start to grow a few small leaves, it’s time to start fertilising them. Liquid fertilizer at first, at about ¼ of the regular dose. Then slowly increase as they start to grow larger.
Once your seedlings have grown to about twice as tall the height of tray, it’s time to transplant them into a bigger pot or garden bed! This gives them more room to grow and mature.
Gently squeeze the bottom of the punnet until the seedling comes lose – do not pull the seedling by the stem. Gently tease the roots to straighten them. Take care not to break any off in the process. After this, plant straight into a pot or a garden bed!
* Handy Tip: Water your seedlings a couple of hours beforehand. A moist root ball will hold together better than a dry one.


I love my new greenhouse! I have transplanted three quite large tomato plants into pots and they are now happily ensconced in the greenhouse. I did this in order to protect them from the cooler autumn nights in Tasmania. The plants were quite large and already had tomatoes on them. Of course, I did not look at the instructions on the net beforehand and when I went to check later the next day the temperature in the greenhouse was 46 degrees and the tomato had wilted! Having learned a hard lesson next day I made sure the door was up soon after the sun arrived on the greenhouse and closed just as the sun goes off to preserve the warmth. The large tomato rallied and has not looked back and we added two more soon after. Still one more self sewn tomato to add to the group before the frosts come and we should be right for tomatoes for most of the winter. Lesson learned, I have now consulted your comprehensive instructions for seed raising before attempting to sew seeds and am looking forward to producing lots of healthy plants throughout the winter. Thank you so much for the easy to follow, illustrated instructions, which were much needed as this is my first greenhouse.
One thing I would like to know is whether or not there is a way to control temperature without continually raising and lowering the opening flap.
Thank you again for this easy to erect product (especially for elderly, challenged with new products, like me).