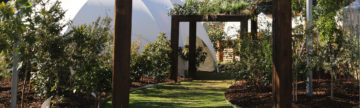
Water restrictions pose initial doubts in many homeowners’ minds about the viability of keeping their gardens alive through the hot months.
The reality is that most of us are over watering our gardens. We water with our gut, so to speak, rather than properly considering how much hydration the different plant species in our gardens require.
There will be instances where our gardens will contain plants that are not suited to our natural climate and simply cannot thrive through water restriction periods, however for the most part, healthy and mature plants will survive the summer months on a diet of drip fed irrigation, where water is delivered straight to the root zone where it is required. You can strengthen your plants with seaweed and fish based ‘plant tonics’ and add a booster to their watering during periods of extreme heat stress.
When faced with water restrictions, like the recent Level Two watering restrictions in NSW, home owners will have a few options for their new watering habits.
There will usually be a trade off between initial time and money investment depending on the watering style chosen. A sophisticated and automatic drip system will turn on and off on its own and will not require much past the initial install.
This option requires a bit of planning, product outlay and installation time however it saves you from daily hand watering. The cheaper and more immediate alternative is to water by hand. In the case of L2 restrictions in NSW, this is limited to watering with a bucket or watering can, which is ideal for small courtyards and gardens.
For larger spaces this will be very time consuming and may pose physical limitations to some gardeners due to the weight of the water in a bucket or watering can.


Points to consider:
Before installing a drip irrigation system, consider the following points before going to your local hardware store:
• Is it worth replacing any ‘country garden’ style thirsty plants with hardier native species?
• What kind of budget are you working with? Does it allow for the inclusion of a tap timer into your new watering system?
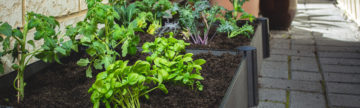
• Another consideration for new gardens is the amount of time you want to dedicate to them. Veggie gardens require more time and energy maintaining them than decorative gardens. If you have both, consider using two irrigation systems as veggies will require almost twice as much water as some decorative garden beds, especially if you are using native plants or typical architectural plants like Agaves and Dracaenas. A single tap with a dual outlet tap timer can take care of automated watering for both systems.
• If you are setting up a garden for the first time, in a new home or rental, consider how drip poly piping will connect from one garden bed to another. Perhaps you have pot plants that also can be connected to the same system. Familiarise yourself with the different fittings available in drip irrigation systems – connectors, corners, end plugs etc.
• Draw out your garden and overlay the irrigation system. Identify pipe length and different fittings. Do you need hold down stakes to keep the pipe level on the soil, or do you plan to bury it? Always over estimate length of pipe, due to corners and trimming, and add a couple of extra fittings to the shopping list. You don’t want to be running to the hardware store on a hot summer afternoon for one last fitting!
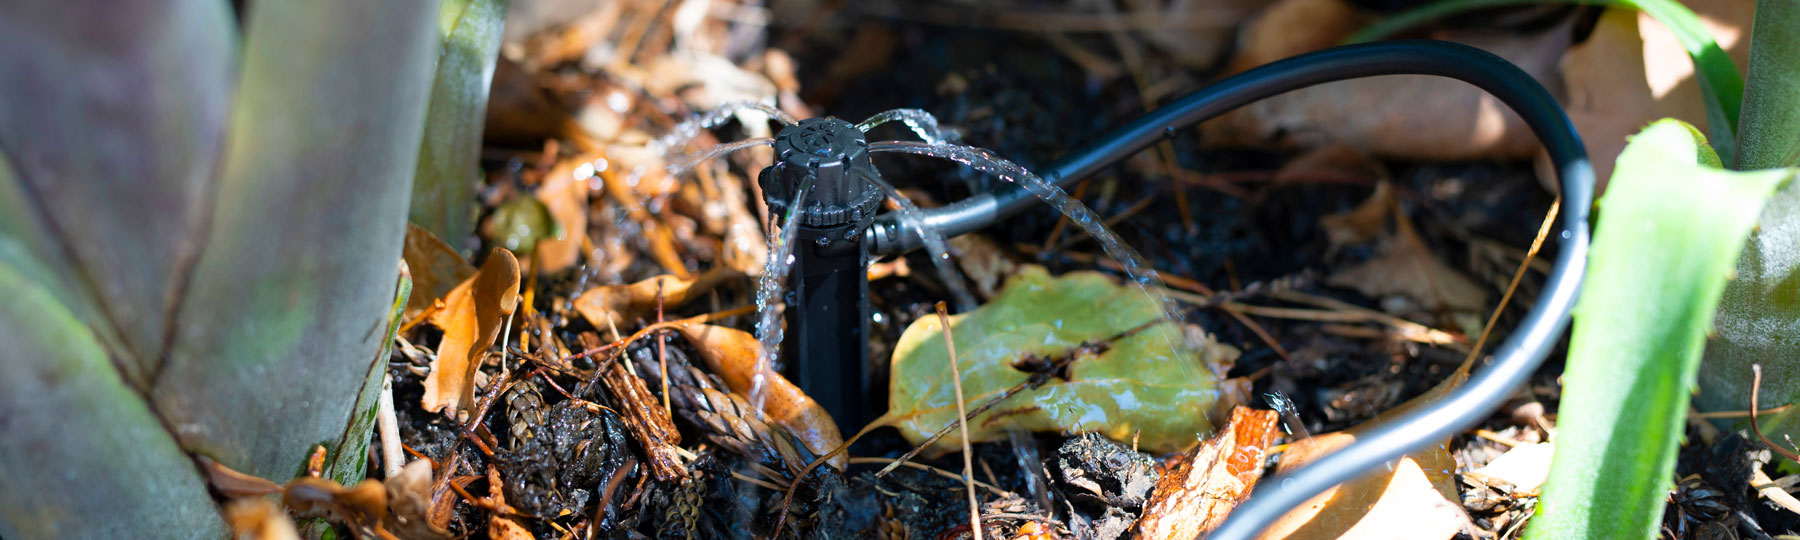
Installation Guide
For this tutorial, we will be turning an existing sprinkler head into a Drip Irrigation system.
A lot of water is wasted in evaporation and by converting it to a drip system, we can deliver water right to the roots, minimizing water wastage. This system is best suited to garden beds and vegetable patches – it is not ideal for covering large areas such as lawns and turf.
We have created an easy to follow instructional video, or you can follow the steps below!
Step 1
Start by locating the spray head that you will be converting, we recommend choosing a sprayer that is central in your garden. You will need to clear the dirt around the area and safely unscrew the spray head and body.


Step 2
Attach a 13mm riser to your sprinkler system that is slightly taller than ground level. We suggest flushing your system to remove any debris or clogged dirt. Briefly turn on your sprinkler system until you see the water bubble through.


Step 3
Once the system has been flushed, attached a 13mm threaded elbow ensuring it is on securely and the dripline is pointing in the correct direction. You may need to take off & re-screw to get the dripline in the correct direction.


Step 4
Using a ratchet clamp, secure the 13mm poly pipe onto the end of the elbow and feed this through your garden. If you have spray heads nearby that you will not be using, remove these and place an end cap on the riser.


Step 5
Cut the poly pipe to the desired length, we have used enough to install 3 drip heads. Close off the poly by inserting a 13mm barbed end plug and secure with a ratchet clamp. To stop your poly pipe from moving, use hold down stakes along the pipe.


Step 6
Install the drip head by removing the barbed joiner from the side of the stake, using a universal drip punch, pierce a hole in the poly pipe and insert the barbed joiner. We joined 4mm flex tube onto the other end, this will take the water from the main poly pipe to each plant.


Step 7
Cut the flex tube to length and join onto your choice of drip head. Here we used a 360° adjustable trickler on a spike. Place the dripper in the ground near the plants that you would like to water and repeat the previous steps for the rest of the drippers.


Step 8
Your new Drip Irrigation is now complete and its time to test the system! Turn on your sprinkler system and adjust the trickler heads where needed. We recommend checking your soil moisture after the first waterings and adjusting as necessary.


I have installed a drip hose to keep a supply of water to my shrubs.
I usually use the wet paper and mulch over top to slow evaporation and stop weeds and hose by hand.
My query is; should I place wetted paper over top of drip hose or should I place paper under hose and then mulch over top of drip hose.
I bought hose with drip holes approx. 1 metre apart.
I look forward to your reply.
Great job on installing a drip hose system to keep your shrubs watered!
To prevent weed growth, it’s best to place wetted paper underneath the drip hose and apply mulch on top to slow down evaporation. This will result in healthy and happy shrubs. Additionally, placing the paper underneath the hose allows for easier access to the hose if you need to move it around.