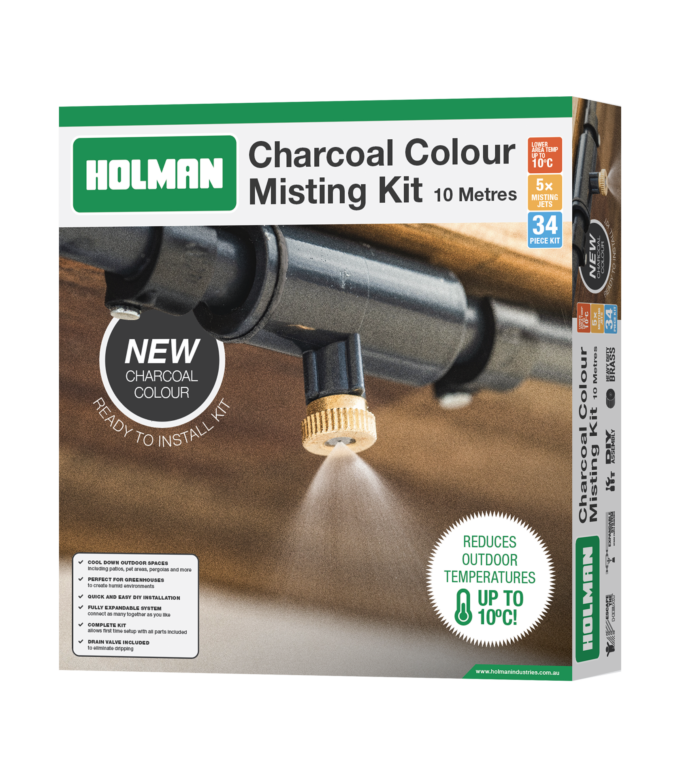
If you are looking for an easy solution to cool down your outdoor areas this summer, our kits are completely DIY friendly so you can install a misting kit at home yourself!
SHOPPING LIST
1 x Hammer
Close access to a tap
OR
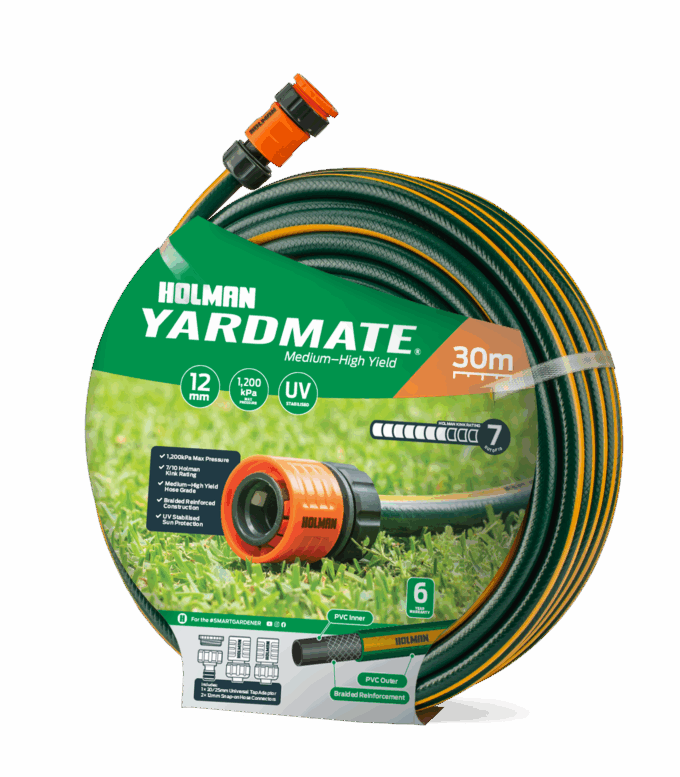
1 x 12mm Garden Hose
and 1 x 12mm Sprinkler Adaptor
Optional: Two way tap outlet
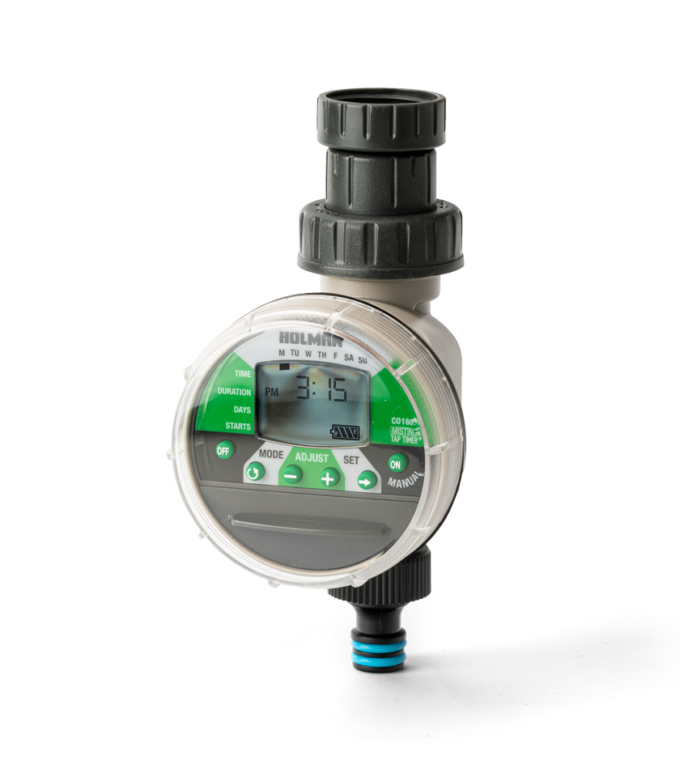
AND: Misting Tap Timer
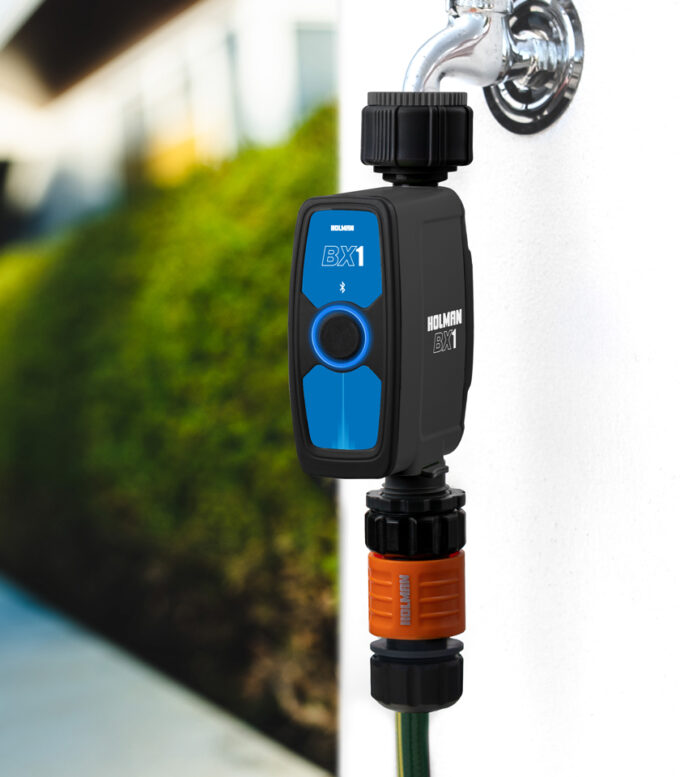
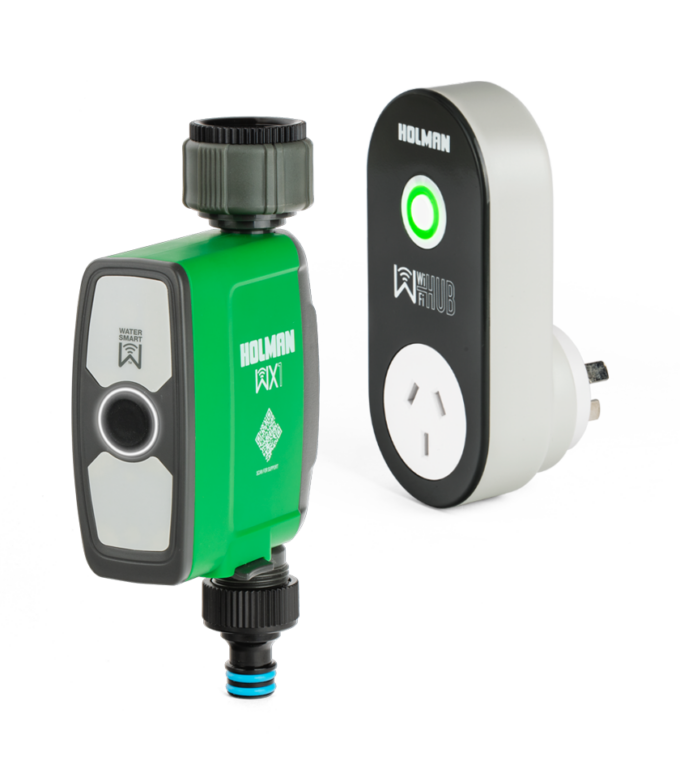
OR: Smart Tap Timer
STEP 1. PLANNING
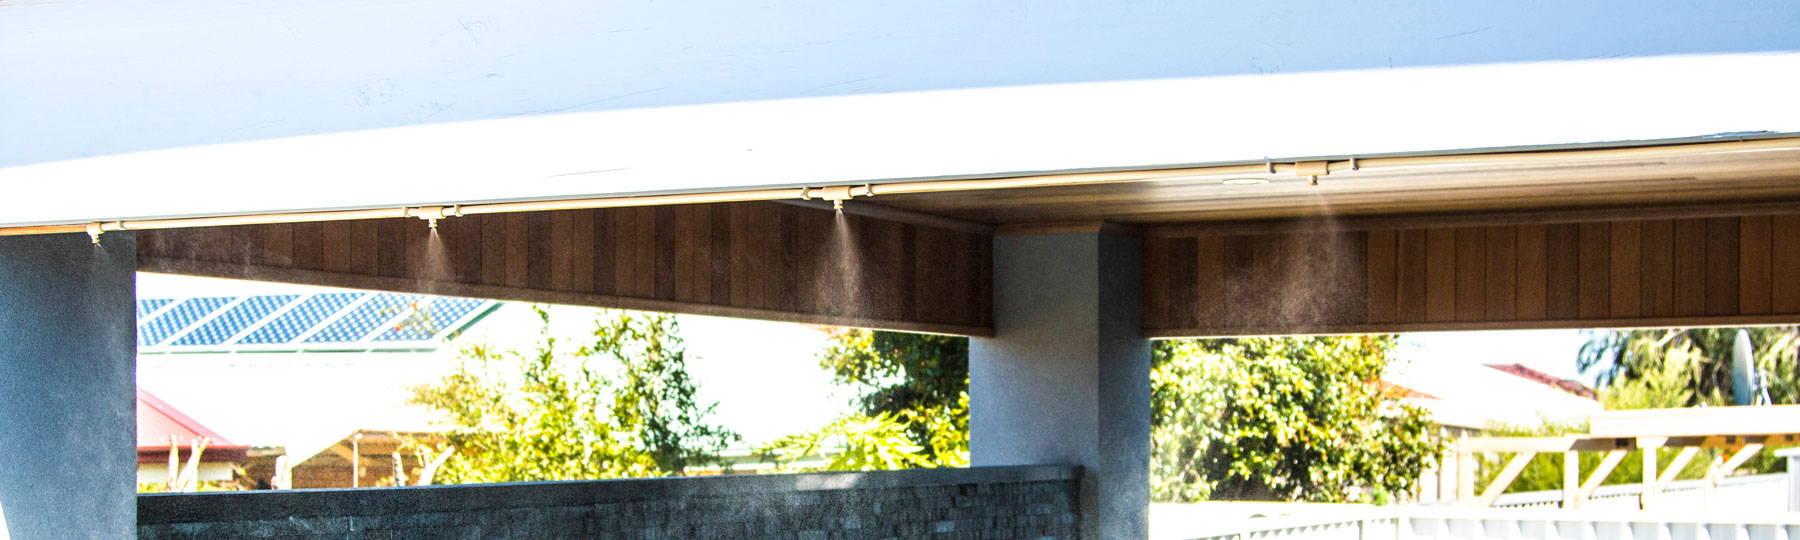
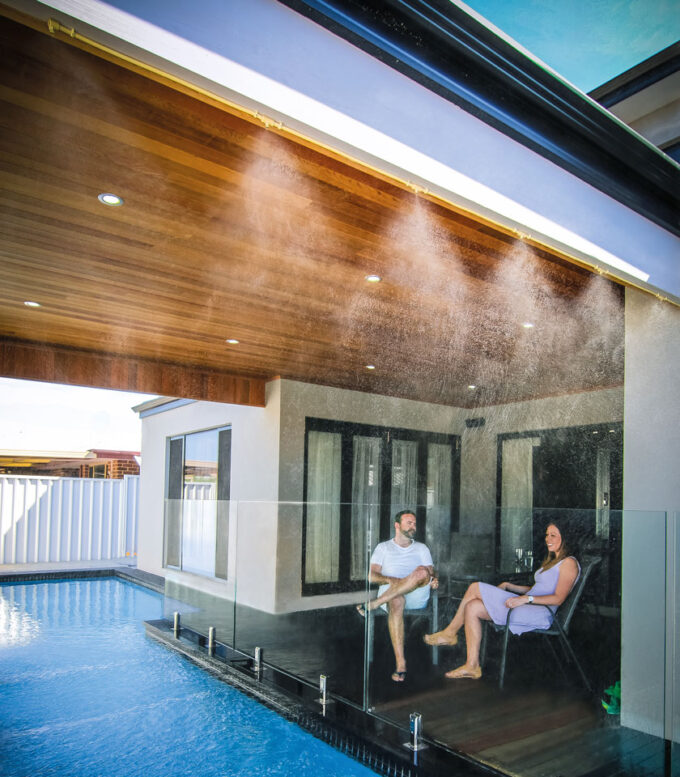
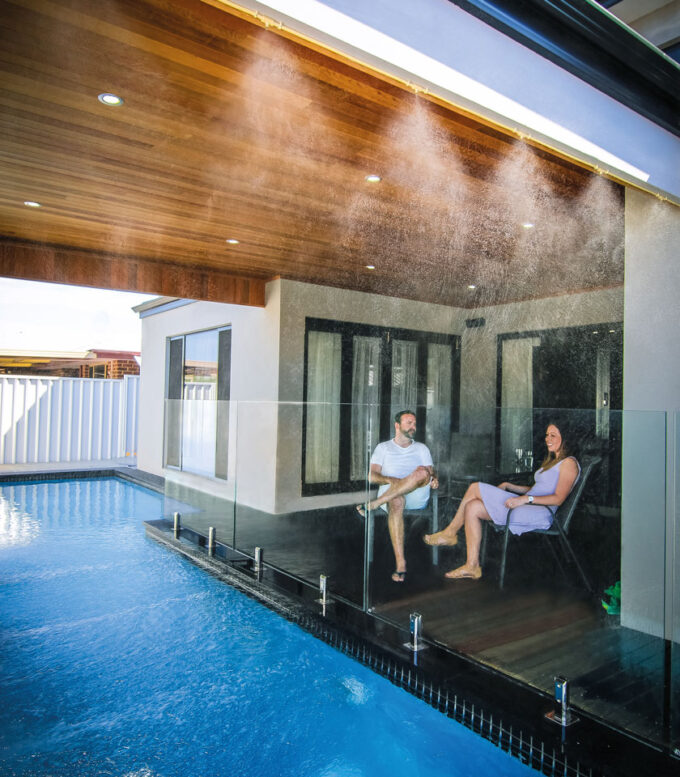
Before you get started, you will need to plan out a rough guide of where you will be placing your misting kit. The general idea of the kit is to position the jets to create a form of ‘mist curtain’ around the area you are wanting to cool down. We suggest making sure the jets are not directly pointed at chairs or objects, as the jets may drip water at times.
If you are unable to connect your misting system directly to a tap, we will take you through the steps of setting up the system to run off a garden hose.
We suggest to only use a misting kit directly off a garden tap or fresh water supply as using bore or dam water may block the jets. The misting jets perform better when using a high water pressure as this creates a finer spray.

STEP 2. MEASURING THE TUBE
Now that you know where you will be placing your misting kit, we recommend spacing out the misting jets between 600mm and 1m apart. First, measure out the tube to reach from your tap or hose and up one side of your outdoor structure. This is where you will make the first cut in your tube. Put this first piece aside.
Now you can measure and cut the rest of the misting tube at the desired length. Make sure you cut enough lengths for the amount of jets you will be using. The tube cutter provided will easily cut the tube, leaving smooth edges.

STEP 3. CONNECTING THE JETS
Attach an elbow* to the end of the first section of tube, secure to the side of your structure using one hose clamp 7-8cm below the elbow. This elbow should be pointed in the direction you want your misting jets to be.
Leaving one end free, attach the misting jets in-between the cut pieces of tube. Ensure that each end is pushed in around 1cm, but not too far as it may block the space for the jets. Place a misting elbow at the end of your line. Once all of the jets are connected in a line with the tube, you can begin attaching it to your structure.
* If you wish to split your system to run in two directions. Attach a tee joiner and continue the misting tube out of either side. Once you have inserted the tube into a misting jet, tee or elbow, it can not be removed. If you need to replace a fitting, you will need to cut the tube on either side and replace it.

STEP 4. ATTACHING TO YOUR STRUCTURE
Now that your misting jets and tube are connected. Begin by placing the first free end into the elbow or tee that you set up earlier. Hold up the tube near the first jet and secure it with the hose clamps. Place one on either side of the jet around 7-8cm away.
Continue this along with your structure until all of the jets have hose clamps on either side. When you get to the end, place one hose clamp before the misting elbow.
The hose clamps come with a strong masonry nail that is suitable for timber and brickwork. We suggest purchasing stronger nails for metal surfaces.

It is important that you do not place the misting tube in a position where it will be exposed to the sunlight. If you need to run the misting tube in sunlight, we suggest buying 13mm poly pipe. Cut it down one side and place over the misting tube. This will completely protect it from any UV rays.
STEP 5: CONNECTING THE MISTING FILTER
TO THE TAP: If you are connecting the misting tube and filter directly to a tap, start by unscrewing the bottom connector. Screw the clear side of the misting filter directly onto the tap. If you have a 25mm tap, use the universal tap adaptor first. Insert the misting tube into the bottom connector and screw it onto the misting filter.

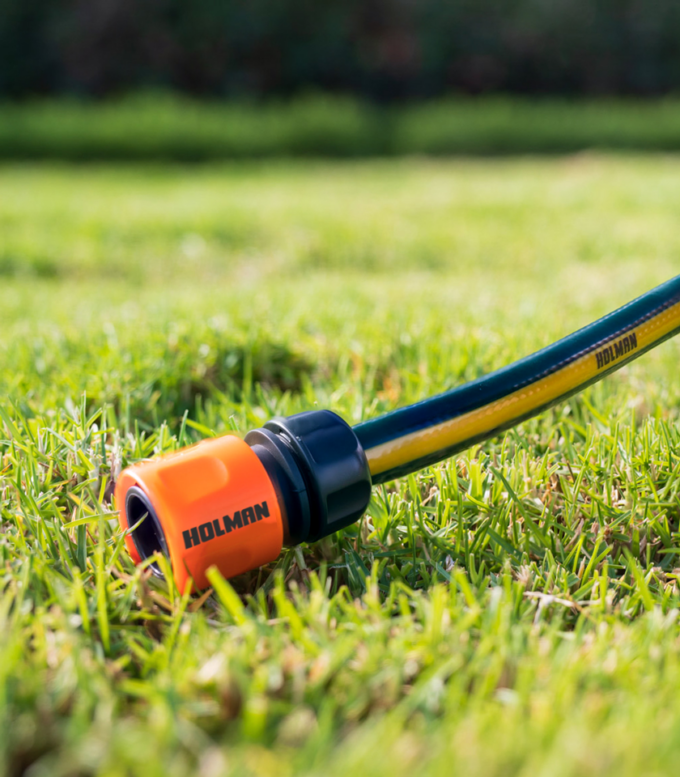
TO A GARDEN HOSE: If you need to run a hose in-between your tap and misting filter, you can use a sprinkler adaptor to join them together. First, connect your hose from your tap as per usual. Screw the sprinkler adaptor into the clear end of the misting filter then simply click onto the hose.

STEP 6: SETTING UP THE AUTO DRAIN VALVE
Each misting kit comes with an Auto Drain Valve. The purpose of this is to draw out any excess pressure/water that your misting kit is not using.
This needs to be placed after the misting filter, at the start of your misting tube. Ensure that the water can run off freely.
Simply cut the tube in the desired position and insert a tee joiner. Secure either side with a hose clamp to the side of your staring structure. Screw the auto drain valve into the tee joiner.

STEP 7: FLUSHING THE SYSTEM
Before you start using the misting kit, you will need to flush the system. This is to ensure no debris has built up throughout the installation.
Unscrew all of the misting jets out of the tees and turn on your tap for 4 to 5 minutes. This will ensure that the jets will not clog up when they are first being used.
We suggest regularly removing the misting jets and cleaning them, as well as flushing the system, to help get rid of any calcium buildup.

OPTIONAL: CONNECTING A TAP TIMER
If you wish to automate when your misting comes on, we have a range of smart and simple tap timers that allow you to schedule short bursts of mist. Simply connect the tap timer of choice to your garden tap, screw on the misting filter to the bottom of the timer and you’re good to go! Misting Tap Timer options include manual, wi-fi and Bluetooth.


hi
1 of my swaplock elbows from my misting kit is faulty. It’s missing the locking device from inside one end
I recently purchased a Holman misting system, your instructions fail to show me how to fit an oversized tube into an undersized hole.
John Muhl
Yanchep
Hi John,
Are you referring to joining the misting tube to the compression fittings? The compression fittings are designed to grip the tube and prevent leaking.
If you have further questions about your misting kit, please reach out to us at support@holmanindustries.com.au and our customer service team will be able to assist in detail. Thank you!