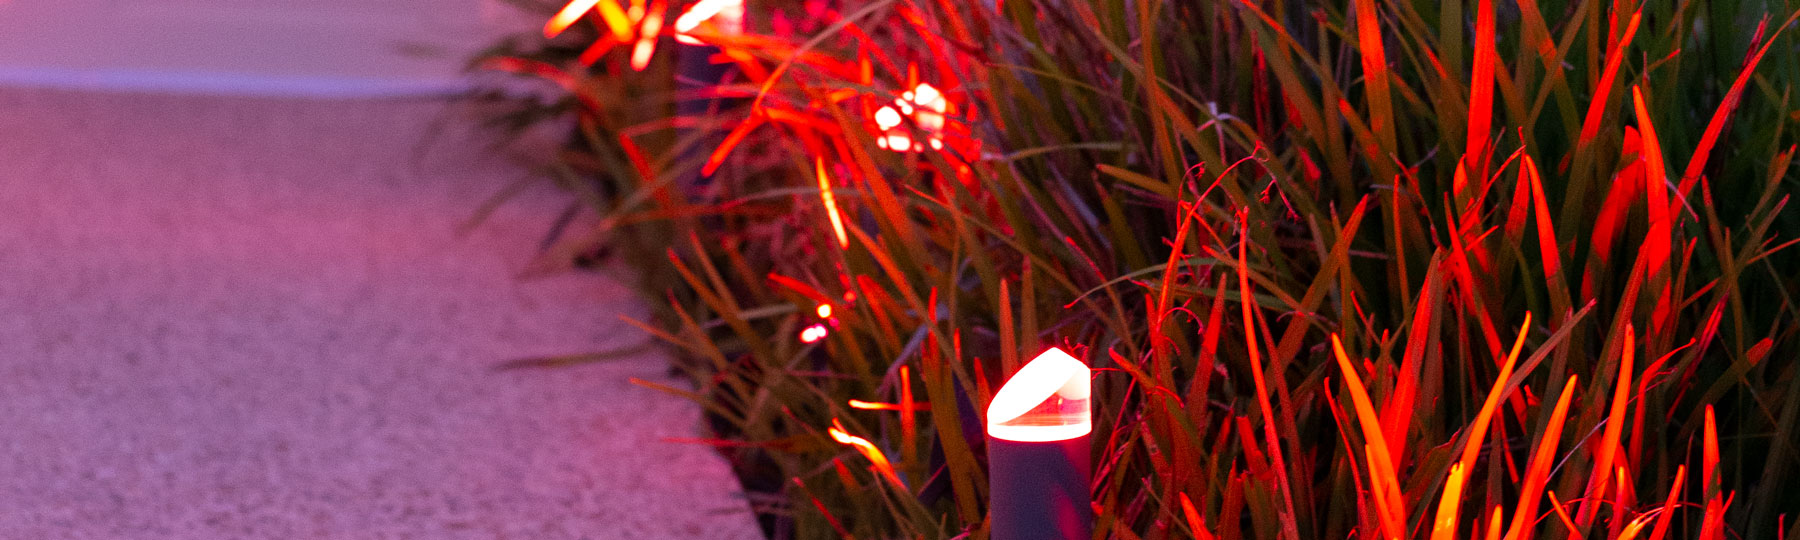

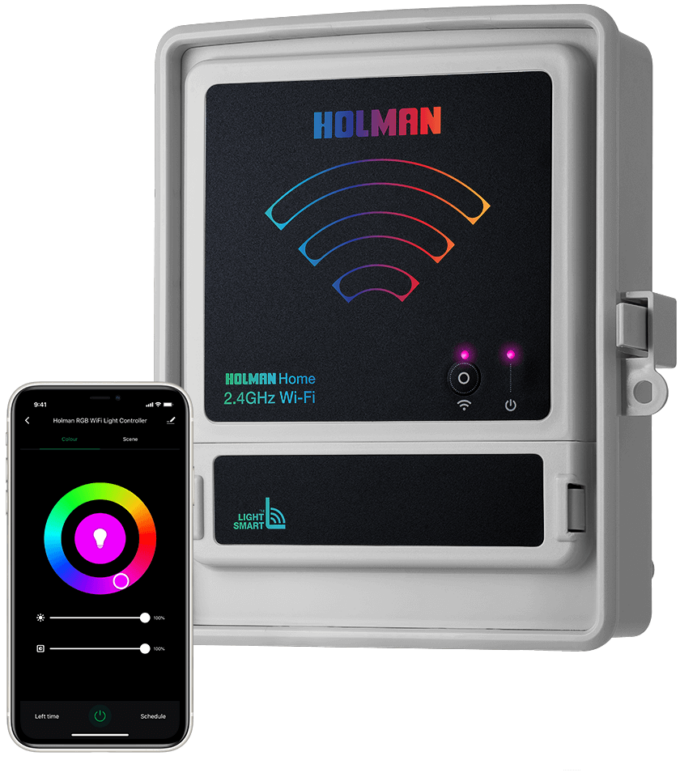
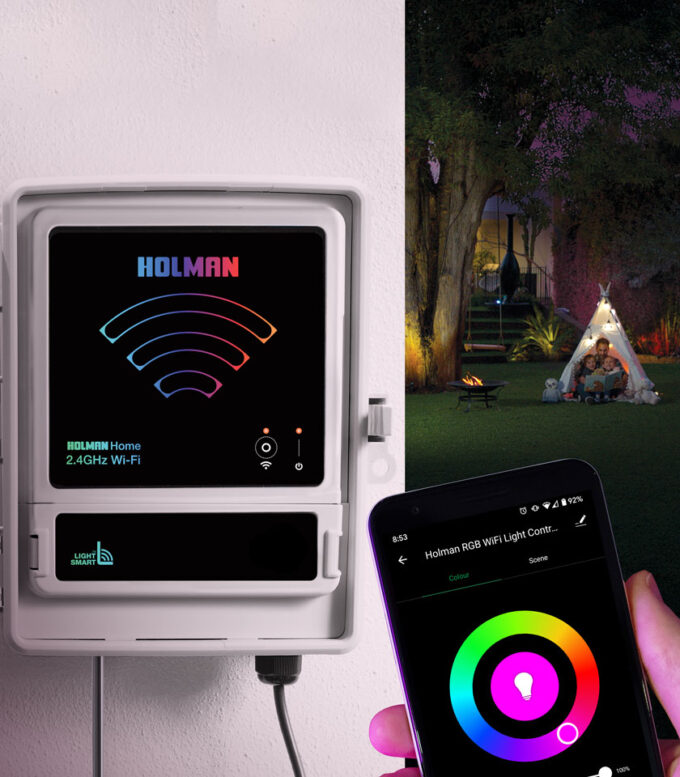
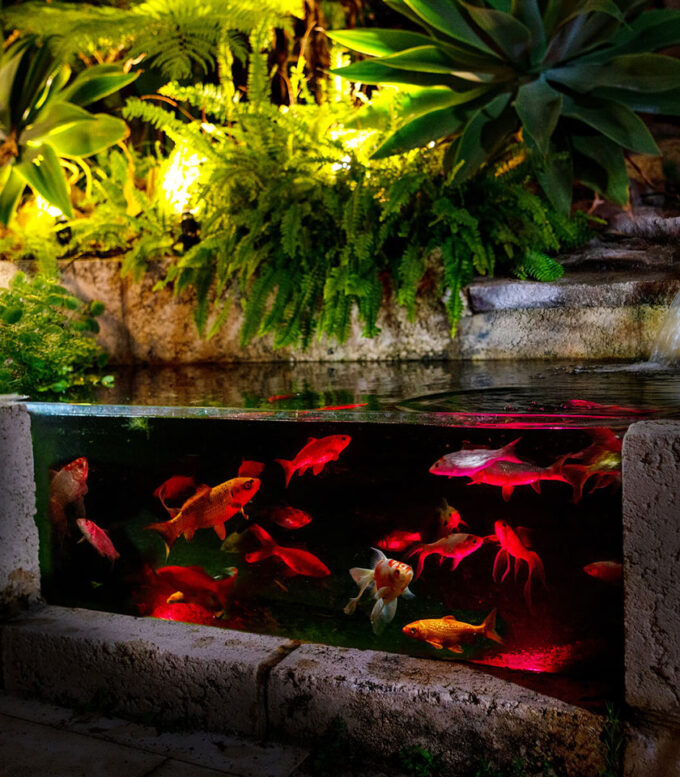
The Holman range of outdoor Garden Lights just got even smarter with our new RGB Colour Wi-Fi Garden Light Controller!
This controller allows you to have complete control of your RGB Garden Lights from anywhere in the world, as long as you have access to a Wi-Fi Connection. Change the colours of your lights or adjust scenes, intensity and saturation from anywhere in the world. Controlled via the free Holman Home App, you are able to have great looking lights from anywhere, all via your smartphone and the tap of a button.
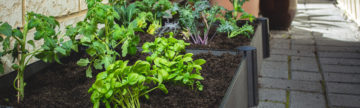
Garden Lights are perfect for enhancing the visual appeal, safety, space and mood of your home and garden. We’ve compiled an installation guide to assist with your garden lighting project. This blog will help you set up any Holman Garden Lighting system, however, we have focused on the RGB 4Pin Plug + Socket System for this blog. Make sure to check if you have Warm White or RGB Colour before installing. Some of the below instructions may need to be modified to suit your garden and circumstances.
1. Draw up Your Plan
You should always sketch an outdoor lighting plan before installing garden lights, noting the key architectural and landscape features you wish to highlight. Your plan should consider:
- An outline of the house, pathways, driveways, herbs, garden beds and the types of fixtures best suited to each area.
- The size and position of focal elements such as trees, water features, structural designs
- How much space is needed between each light to create the desired effect.
- The location of power points or supply
Tip: Go out into your garden and measure how far apart your lights should be, make a note of these in your scaled plan. Your plan will determine the installation accessories required – cabling, connection tees, conduit for hiding cables.
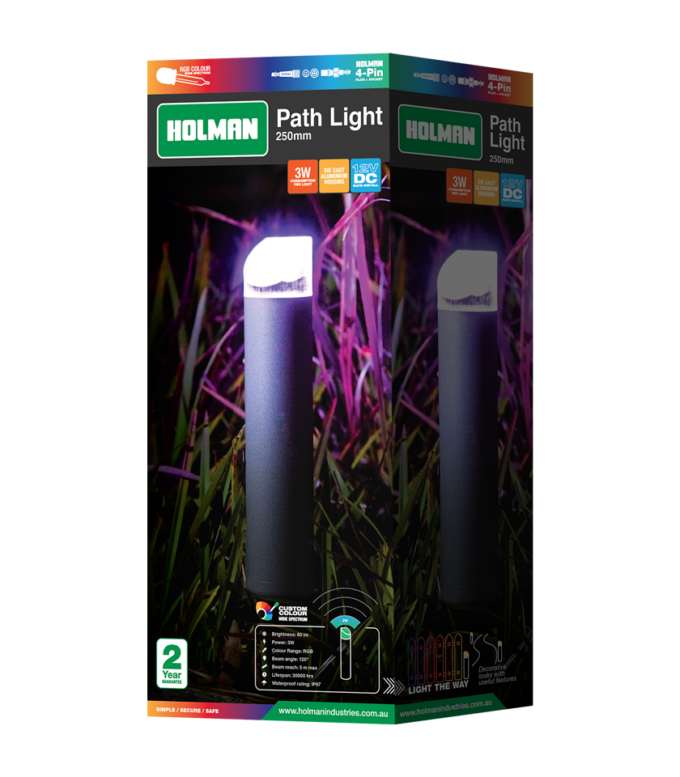
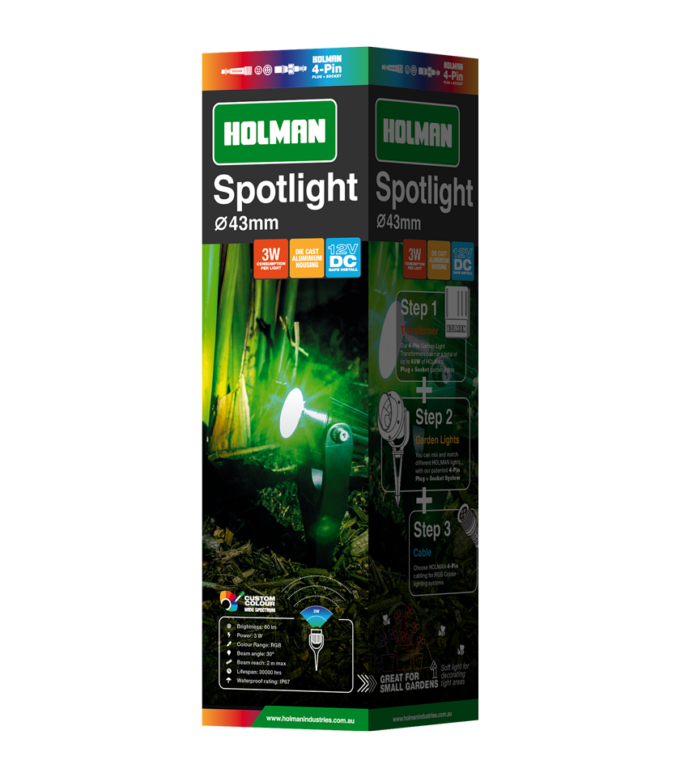
2. Choose your RGB Garden Lights
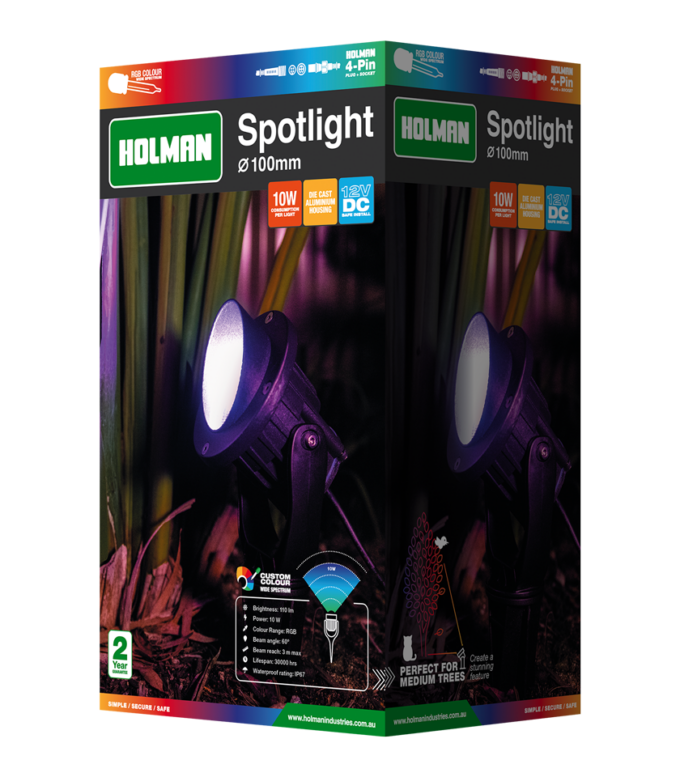
Choose any of our 4-pin RGB colour garden lights to go with the new RGB Colour Wi-Fi Garden Light Controller. Remember that this system is not compatible with our 2-Pin Warm White system. Using your plan as a guide select the fixtures best suited to your garden layout.
Tip: Work out the total wattage of the lights included in your plan prior to installation. All our controllers have a maximum capacity of 60 watts. If your design exceeds the 60-watt limit you will need another controller.


3. Choose a suitable installation point for your controller around the home

Before mounting your controller, consider how the cable is going to run from the controller to the garden. Try to keep the mainline cable as short as possible to ensure optimum brightness of the lights. Ideally, your controller should not be exposed to rain or areas prone to flooding or heavy water. If the position of your controller is far from your Wi-Fi router, or if your router does not have a strong signal, we recommend that you pair the controller with the Holman Home App close to your router, before you install it outside.
Remember the controller should have a higher wattage than the total wattage of your garden lights. For more comprehensive lighting installations, you may require multiple controllers.
Tip: If you don’t already have an external power point, you’ll require a registered electrician to install one. For ease of operation, we recommend eye level placement.
4. Work out the amount of cabling required to connect all your lights to the Wi-Fi Garden Light Controller
First ensure your cables are compatible with your controller, remembering this Wi-Fi Controller has the RGB 4 Pin Plug + Socket System. Measure the length of mainline cable from the controller to where your first light will go, and then the distance between each light.


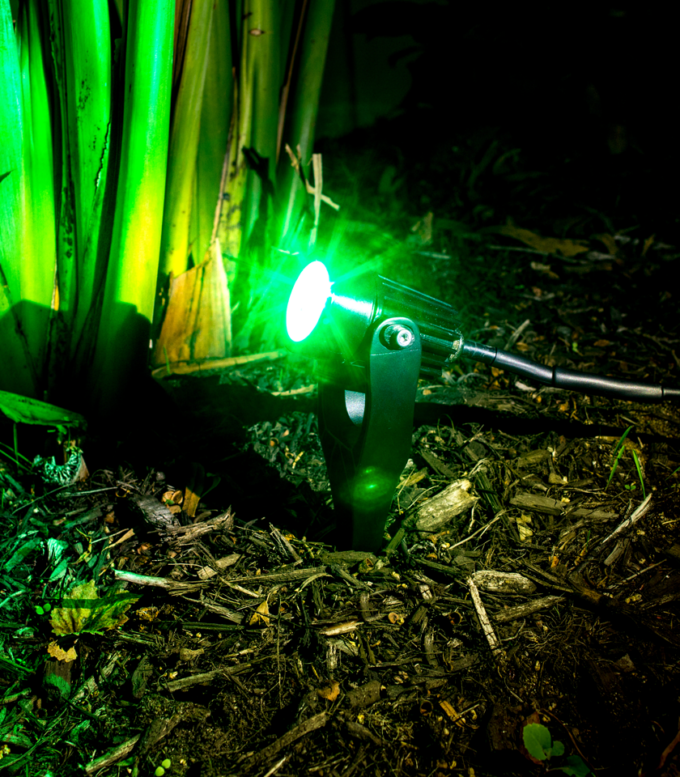
5. Installing your garden lights
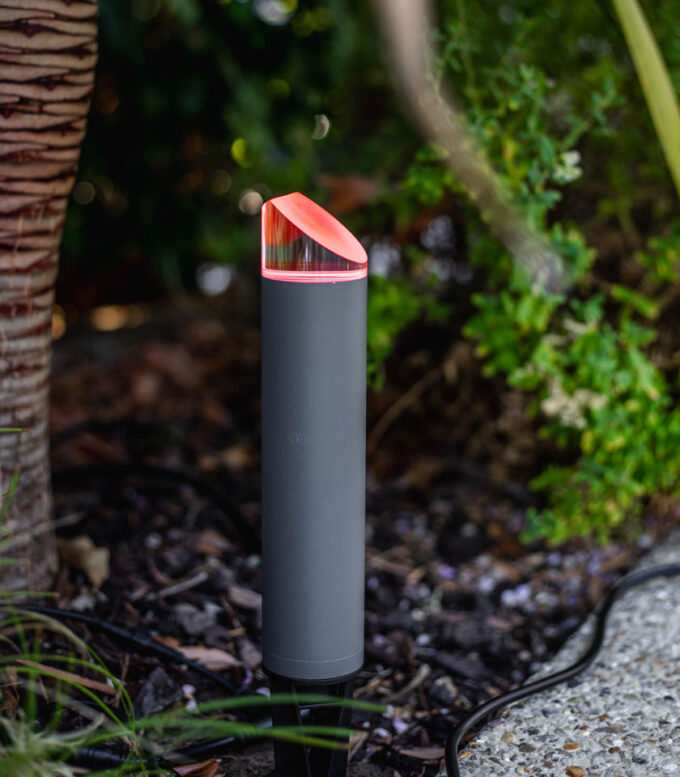
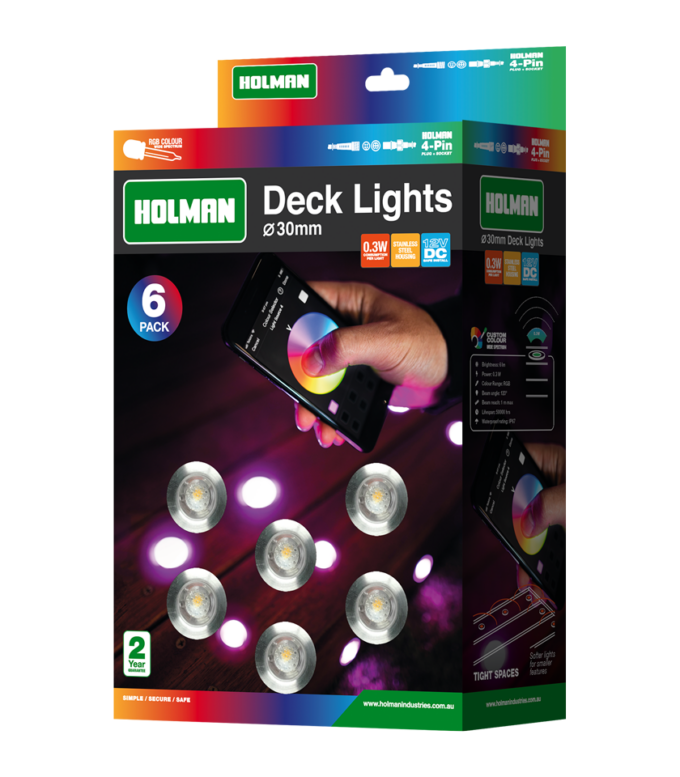
Holman Path Lights and Spotlights have a simple garden spike and connection tee for easy placement into garden beds and lawn. Deck lights require a drill for installation and panels may need to be removed to hide cables. Follow the simple steps below to install your deck lights.
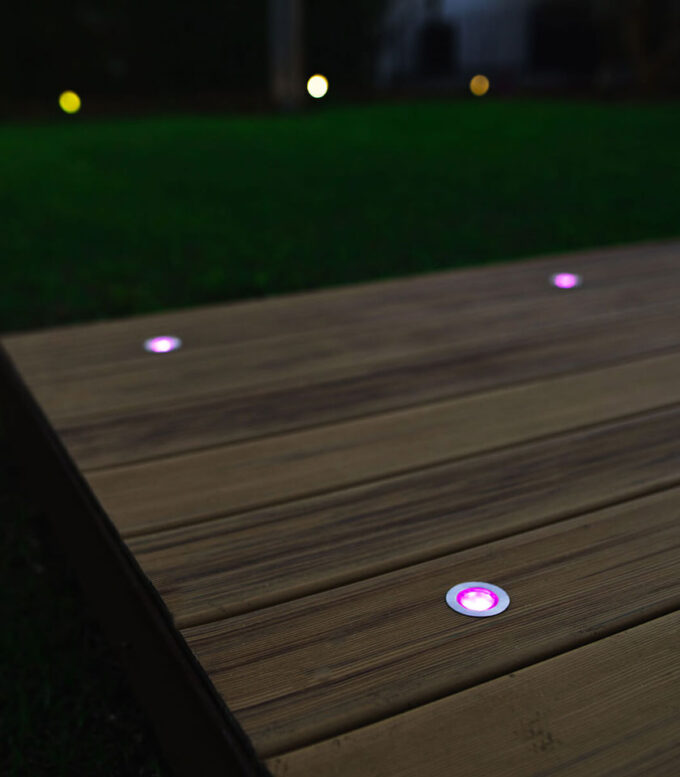
Step 1. Mark out where your lights will be drilled into your deck.
This will determine how many lights you require, and the length of cable needed to connect them to the controller. Our deck lights are automatically spaced out up to 2m apart, but you can use a connection tee and mainline cable to extend the distance if necessary. Consider where your power supply is located and the length of mainline cable you’ll need when deciding where the lights will go.
Step 2. Drill holes for your lights
Ensure there are no cables or pipes behind the panels before you start drilling into your deck. Choose the drill spade that matches up the size of the deck light exactly (30mm or 45mm depending on your chosen fixture), the lights need to be secured tightly.
Step 3. Install your deck lights
Push the lights into the holes you’ve drilled making sure the fixture is secured tightly with no more than a couple of millimetres to move. Screw in the Plug + Socket cable together ensuring your caps are hand tightened to create a waterproof seal.
Tip: We recommend no more than 12 deck lights be daisy chained together. If your plan includes more than 12, use lengths of mainline cable for a stronger connection.


6. Join your cables together and connect to the Garden Light Controller
Push the Plug & Socket cable ends together securing the weatherproof cap over the join. An end cap is provided on each cable to weatherproof the final connection. Use Expansion Tees if you need to expand the system in two directions. Turn the power on your controller. Once all your lights are connected and working, hide your cables under mulch, soil or pavers. You may need to purchase electrical conduit from your local hardware store to hide or tidy excess cable.

7. Final setup and installation
Once your lights are connected and working, we recommend testing your system at night to accurately assess your design. Be prepared to move the lights around and experiment with different techniques within the limits of cable length. The Holman Garden Light system can be easily modified and extended at any time, so you can add extra light fixtures until it’s perfect!
Tip: Holman Garden Lights are a patented complete system that cannot be used with any other type of lighting transformer.

Once setup Can the controller be switched on and off from a wall switch (controlled outlet) without loosing the previous operating mode settings?
Hi Dom, unfortunately, we would not recommend switching off the power from your controlled outlet for an extended period of time. When the controller is unplugged for more than 10 minutes, it allows all capacitors to clear, which can result in a reset of the controller. This means that any previous operating mode settings may be lost. If you have any further questions or need additional assistance, please don’t hesitate to reach out to our team at support@holmanindustries.com.au. We are here to help!
Kimberly
Holman Team
Hi, can you set up a sensor that will activate the lights with movement?
Hi Andrew, unfortunately, no, it is not possible to set up a light sensor with our Wi-Fi or Bluetooth controllers.
is there a way to change the colour on 1 type of light but not on the other
I.E decking light white and my pond light changing , all are RGB and the controller is the wifi one
thanks
Hello, as the garden lights are connected together through one line of cable running back to the controller, you are unable to have individual control over separate lights.
If you are wanting to be able to control different sections of lighting, we recommend the use of multiple controllers. Our Holman Home App allows you to have control of up to 16 garden light controllers (CLXRGB60).
Thank you!
Have just purchased 2nd multi coloured controller and I am trying to connect to my phone and am having no luck have tried everything, redlight is slowly flashing, could it be a faulty controller, if you could advice any trouble shooting , cheers
Hi Cam,
Thank you for reaching out, I’m sorry to hear you are having connection issues with your new RGB Garden Light Controller. Please get in touch with our customer service team at support@holmanindustries.com.au and they will be able to help you with further troubleshooting.
Kimberly,
Holman Team
I have tried to change the stop time of my warm lights system, I have changed it on the app looks correct, but it still turns off at the previous time set. What am I doing wrong? Thanks
Hi Des,
Would you mind sending us an email at support@holmanindustries.com.au and our support team will help you going through the set up of the timers?
Hi
Why would you pick the Wi-Fi system over the bluetooth
Hi Rod, using a Wi-Fi system allows you to make changes and update schedules to your garden lights from any location. When using the Bluetooth controller, you are only able to make changes within 20m of the controller. Our Wi-Fi models also offer more in-depth scene and scheduling options, smart automation options, and you can set up your lights to work with voice commands all through the Holman Home app.
Remote for Spotlight Starter Pack. I assembled unit out of the garden and the lights didnt work. I removed the battery and reinstalled battery and the lights worked. layed out the lights in the garden and the lights didnt work. I bought a new battery and lights still dont work.
When you press the ON on the remote should the small light on the end of the remote come on and off???
Anyone help, any ideas. The Holman website offers no help for troubleshooting.
Hi Colin, thank you for your feedback. Sorry to hear you’ve been having trouble with the remote, could you please contact our customer service on support@holmanindustries.com.au? They will be able to walk through some troubleshooting with you or replace the remote. Thank you.
Rather than the color version, does the warm white connect to the Wi-Fi???? I have bought the RGB color lights but the warm white option on it is not the desired look I’m after. However the warm white lights are but these are only blue tooth not wifi.
Hi Carmel, we do not currently have a wi-fi option for our Warm White lights. Apologies for any inconvenience, please let us know if you have any further questions about our garden light range. Thank you.
Nice to see u advertising the lights we have had the controller & lights but there is no cables to contect the lights when would u & bunnings have some please