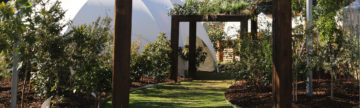
Our Connect‑a‑Pot™ system is ideal if you have a very narrow space to mount a GreenWall™ on, you would like to frame an existing wall feature with greenery, or you simply want to get creative with custom shape and pattern configurations.
You could even spell out a word using the Connect‑a‑Pot™ system, which is popular in cafés or business foyers and lobbies when used as a design feature.


Planning
Most of your time will be dedicated to planning your design. We recommend drawing it out or taking a photo and creating a digital mock-up of your plan. This will be a great guide for the installation part. Something to keep in mind is the type of plants you will use, as this will determine how far apart your pots should be spaced. Initially, your design may look too spaced out or a bit bare, as you will most likely be using young plants that haven’t yet acquired much bushiness or length. But as they grow, the plants will start to connect up and your design will quickly take shape!

Location
Sunlight: How much sun does your location receive and what plants will be most appropriate for that environment?
Drainage: Will your pots be draining onto a surface that shouldn’t have water on it, or are there any power points that need protecting from the water?

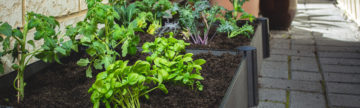
Plants
Allocate one plant per pot and take note of their mature size as some plants will quickly outgrow the pots. Check out our Plant Selector Chart for some plant recommendations.

Soil
Regular garden bed soil will harden and block the drainage, so we recommend coir peat mixed with high quality potting mix at a 30:70 ratio will ensure your plants receive all the essential nutrients, and because coir peat has great water retention properties, your plants won’t dry out too fast.

Spacing
Take into account the spacing of your pots based on your plant selection. Wider, leafier plants will visually take up more space on the wall, so more space between the pots will be needed.
Installation
You will require a drill, an appropriate 5mm drill bit for the wall you are installing onto, a spirit level and a hammer. We suggest mounting all of your brackets first, and then potting up your plants and inserting them into the brackets at the end.

1. Mark out the rough placement of each pot on the wall before you begin.

2. Hold the first bracket up to the wall and use a spirit level to ensure it is straight. You will need to do this with all of the brackets.

3. Place a marker in each of the four holes and mark the wall. This is your guide for where to screw the bracket holes.

4. Drill a hole where you marked and place a wall plug into the hole, then screw the bracket in place.

5. Hang your first (empty) pot on the wall. We suggest doing this as you go along, taking a few steps back and making sure your design is coming together as planned. If you need to make any adjustments, it’s easier to do so before you drill and mount all your brackets! Then repeat steps 1-5 with the remaining brackets.

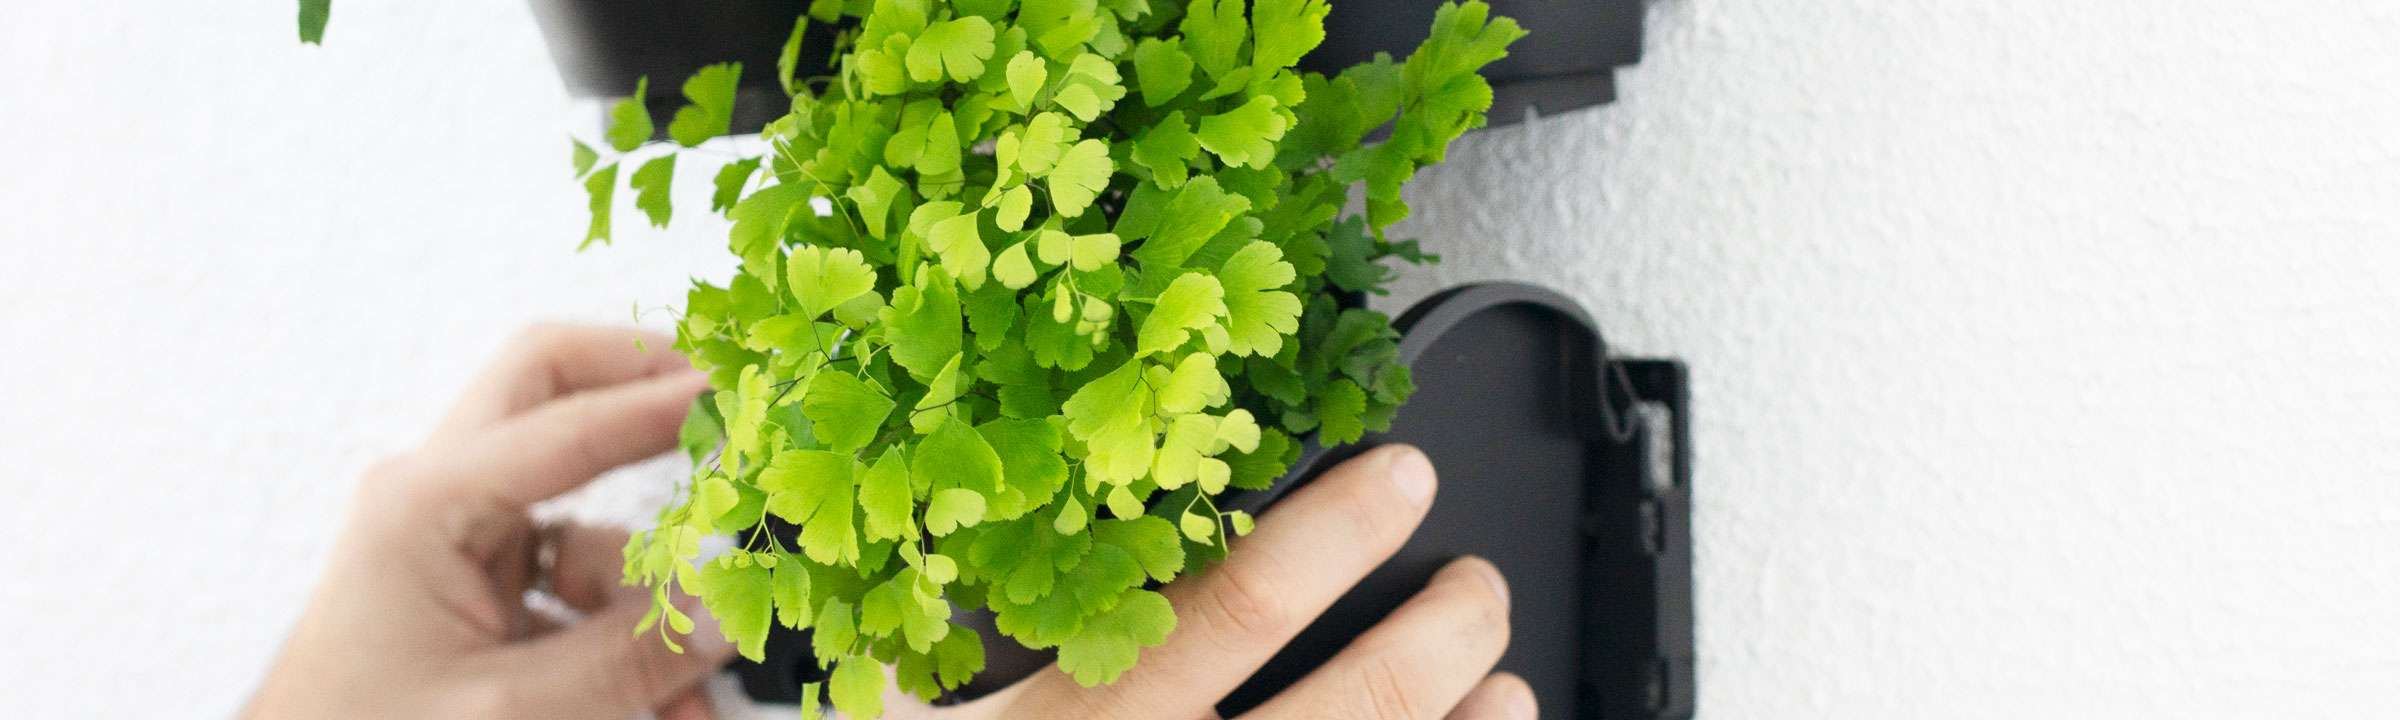
6. Fill your pots with plants and soil.

7. Secure your planted pots into their brackets. You can play around with the location of each pot at this point if you like.

8. If you are installing a micro irrigation system, you can do so once your design is complete, then connect it up to the BTX1 Bluetooth® Tap Timer.
9. We’d love to see your GreenWall™. Tag @holmangarden and use our hashtag #SMARTGARDENER on Instagram or Facebook.
View this post on Instagram
Maintenance
The Connect‑a‑Pot™ system does not include built‑in irrigation, however the pots have built-in clips that accommodate 4mm or 13mm poly‑pipe, which is used for micro irrigation systems. Ideally, you would connect a micro irrigation system to a tap timer that automates short bursts of watering throughout the day maintaining optimal soil moisture. To learn about micro irrigation systems, check out our DIY Micro Irrigation blog post.
An alternative to this is hand watering, which is a reliable option but can be time consuming for larger installs and also less water efficient.