- Home
- ▸
- DIY Irrigation Planning
Are you looking to DIY your home irrigation system? Our DIY Irrigation Guide will help you get started by learning how to plan out your drawings, choose the correct sprinklers, determining what type of soil you have and whether it needs any improvements, as well as checking your water pressure.
Overview
Planning your own irrigation system for the first time can feel like a daunting task. By breaking the process down, the job looks much more DIY friendly and achievable by almost anyone.

Know your Soil
Soil is one of the most important factors to growing a successful lawn, and it is difficult to improve once lawn has already grown. By improving water retention How the water is held in the soil before it sinks through. of soil, we can increase our water efficiency, make our lawn more drought resistant, and cut down on water bills.
In Australia and New Zealand, there are generally three soil types; loam, clay and sand. To treat the soil in the right way, we need to understand what we’re working with.
Be sure to check the soil in your region to make the most of your irrigation system.
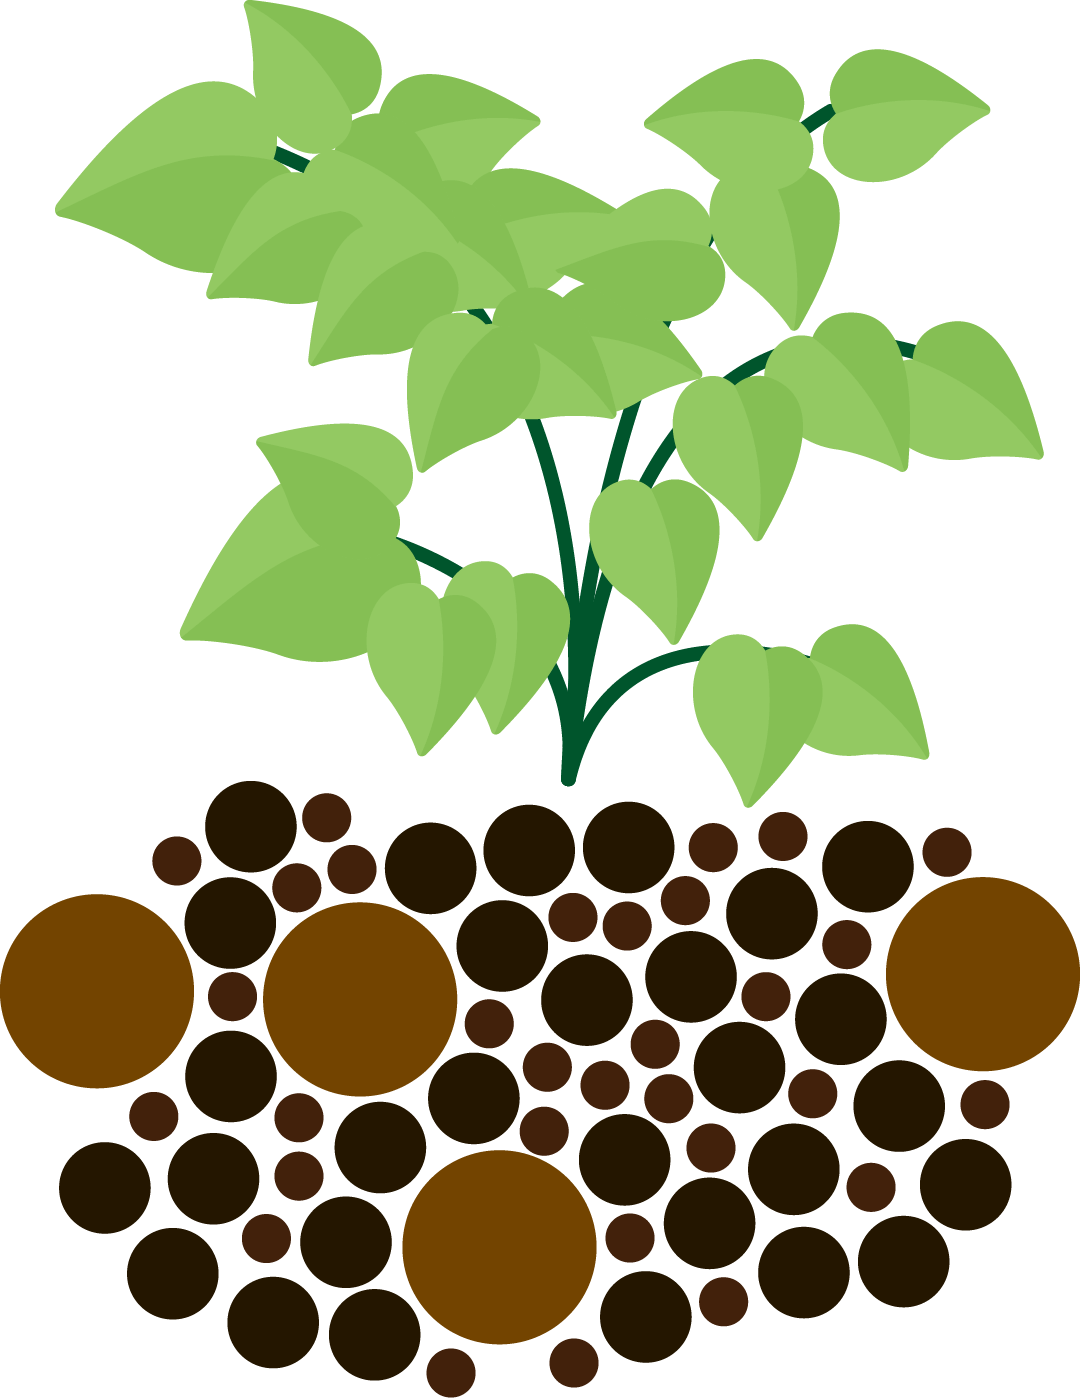
Loam
Ideal for gardening, loam has good water retention and drainage. Compost can be added for further improvement.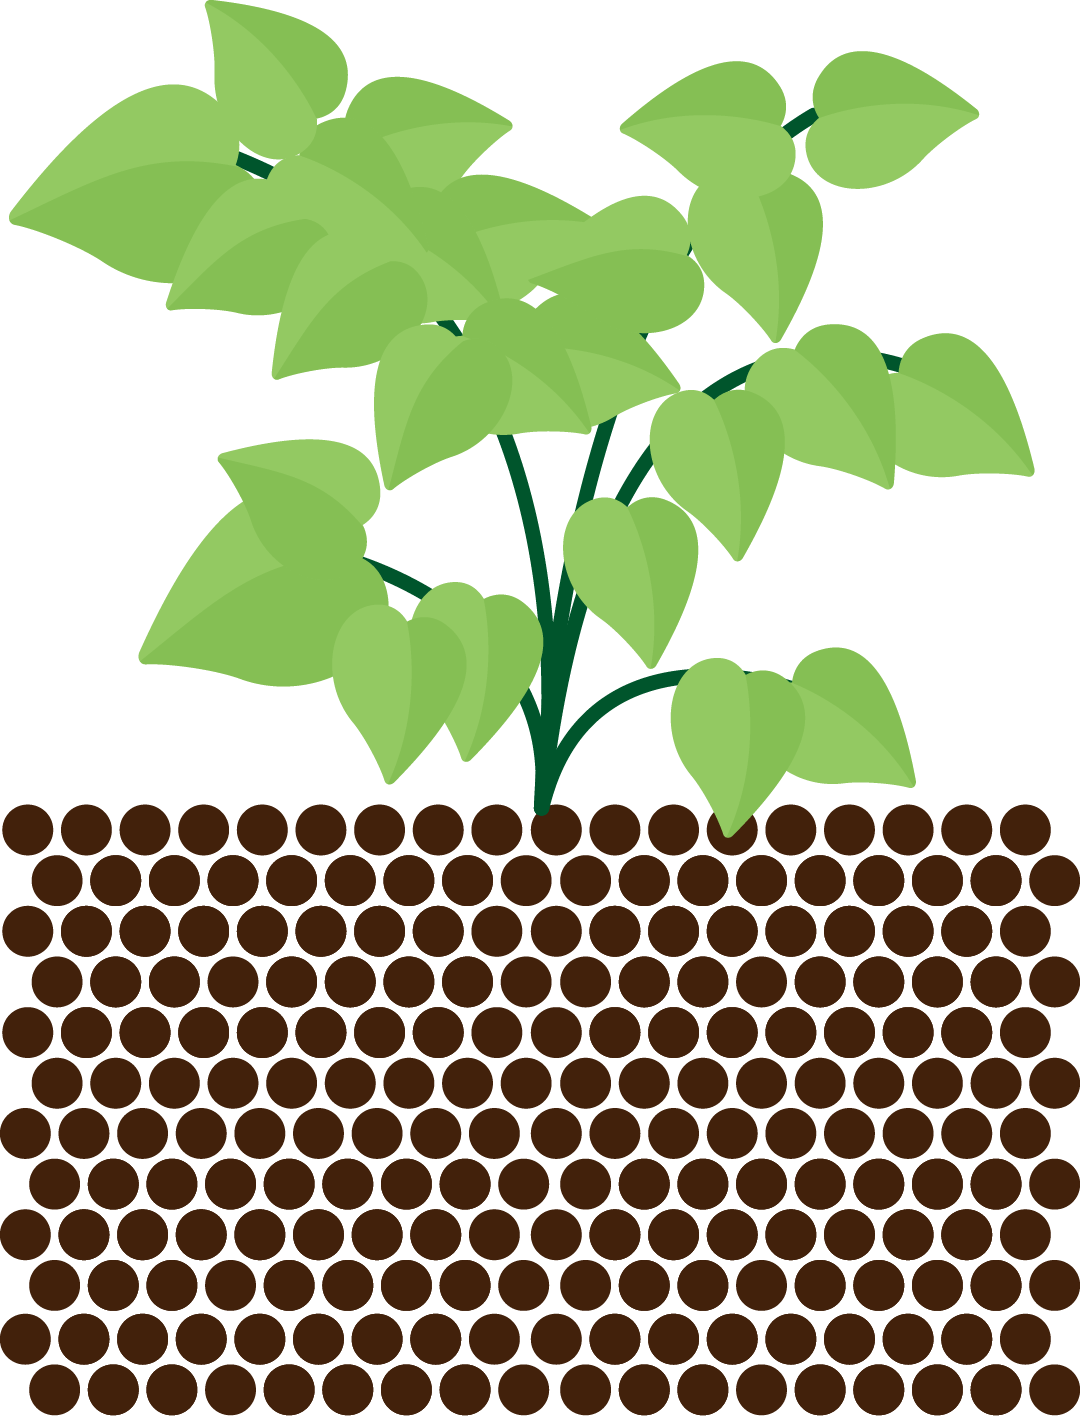
Clay
Absorbing water slowly and holding it for longer, clay becomes easily waterlogged. Gypsum clay breaker A mineral powder than can be added to clay to improve drainage. will improve drainage
Sand
Sand dries out quickly and does not soak well. To prevent this we suggest mixing compost through the soil and sprinkling a wetting agent on top.Design the Layout
Start by drawing the outline of your property. We recommend drawing your plan to scale, ie. 1cm = 1m or 1:100. This will make it much easier when calculating sprinkler spacing and pipe lengths.
Once you have determined your boundaries, be sure to include the following, with measurements:
- Any objects that could be in the way of your irrigation, such as your house, trees, sheds, or areas you want to avoid digging up.
- Main water supply access.*
- Areas that need irrigation; lawns, garden beds, etc.
- Power supply for an irrigation controller.*
For PVC Pressure systems, we recommend connecting directly to the water mains in most cases. For smaller micro poly systems, it is possible to connect to an outdoor tap, which we’ll cover another time.
When running irrigation system off the main line, an irrigation controller is required.

Check your Flow Rate
Flow rate The amount of water flowing through the system, measured in L/min (Litres per minute). directly effects how many popups can operate on your irrigation system at any one time. Without a flow meter, this can be measured with a Bucket Test, by timing how long it takes to fill a household bucket.
This can be measured off a household tap or directly from the main water feed. If measuring directly off the mains, you may want to consult a plumber.
Flow rate is measured using the following equation:
Flow rate (L/min) = [Bucket Size (L)] ÷ [Fill time (sec)] × 60 × 0.8
- 60 is to convert the unit to minutes.
- 0.8 refers to a 20% reduction in flow rate to allow for pressure loss in your system. If the bucket test is taken off the main water feed at the correct pressure then this 20% allowance is not necessary.
- Note the time of day you plan to run your irrigation. Water pressure and flow can fluctuate throughout the day, so it is best to time the flow at the same time of day.
- Ensure there is no water running elsewhere on your property.
- Turn on the tap fully without the bucket underneath.*
- Place the bucket under the already running water, and time how long it takes to fill
- Use our handy Bucket Test Flow Rate Calculator to find out the flow rate in L/min (Litres per minute). Note that this calculator already includes the 20% reduction in flow rate as listed above.
Note that the fill time needs to be calculated at full flow and mid-stream, so the bucket must be placed under the tap after it is already running.
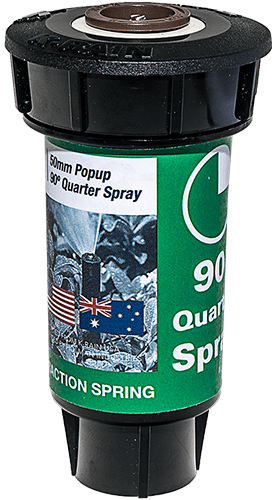
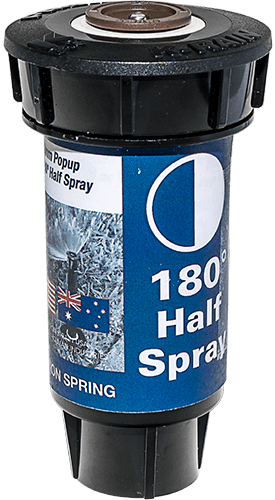
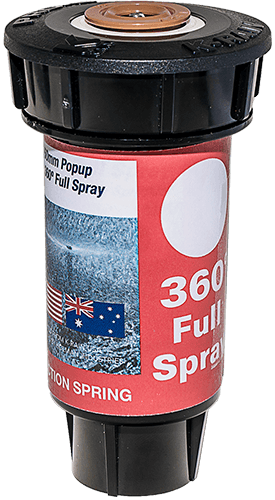
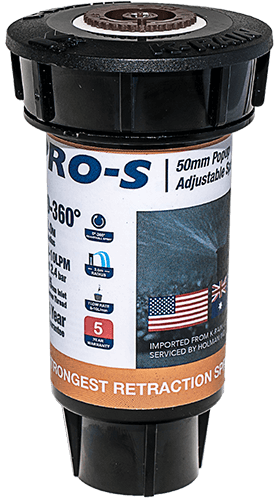
Pick the Right Sprinklers
With the area layout planned, we can now map our ideal water coverage, using fixed and adjustable nozzle sprinklers. We recommend professional grade popups such as the K-Rain® range listed below. With 90°, 180°, 360° and Adjustable nozzles available, almost any layout is possible. Each sprinkler should have a minimum of 50% spray overlap to ensure the lawn is watered properly.


Plan the Irrigation Control
What is a Solenoid Valve?
- A solenoid valve is essentially an automatic tap. Using a magnet within the solenoid coil, the valve can be turned on or off remotely via an irrigation controller.
- By utilising solenoids in an irrigation system, watering in multiple sections or zones can be controlled from a single irrigation controller at a central point.
- These valves are controlled by a safe 24V AC current, passed from the irrigation controller which is wired directly to the solenoids.
Why do I need Solenoid Valves?
- Rule of thumb: The larger the irrigation area, the more solenoids required
- After selecting your sprinklers and determining the system flow rate, you can then determine how many sprinklers can run at any one time
- In most cases, it is not possible to run the entire system of sprinklers because you will not have enough water, so we divide the system into zones, which are then controlled by solenoids.
Please note a licensed plumber is required by law to install a Backflow Preventer Prevents chemical being sucked back into the main house water line. between the Master Solenoid Valve and the House Main Water Line.

Plot your Pipework
Flow planning
For optimal flow, sprinklers should be connected in the shortest possible chain, as the water pressure is reduced every time it passes across an opening. Talk to your reticulation store for advice on the right irrigation fittings for your project.

IMPORTANT
If your system is to be automatic, you may require a licensed electrician to connect your automatic controller. If your system is supplied from the water mains, arrange for a plumber to cut into your main water feed and fit an approved valve for you to connect the system to. Locate all the services (Phone, water, gas, etc.) taking care when digging near these services. We recommend calling Dial Before you Dig for help with this.It helps to mow, then water your lawn well before cutting your trenches.
