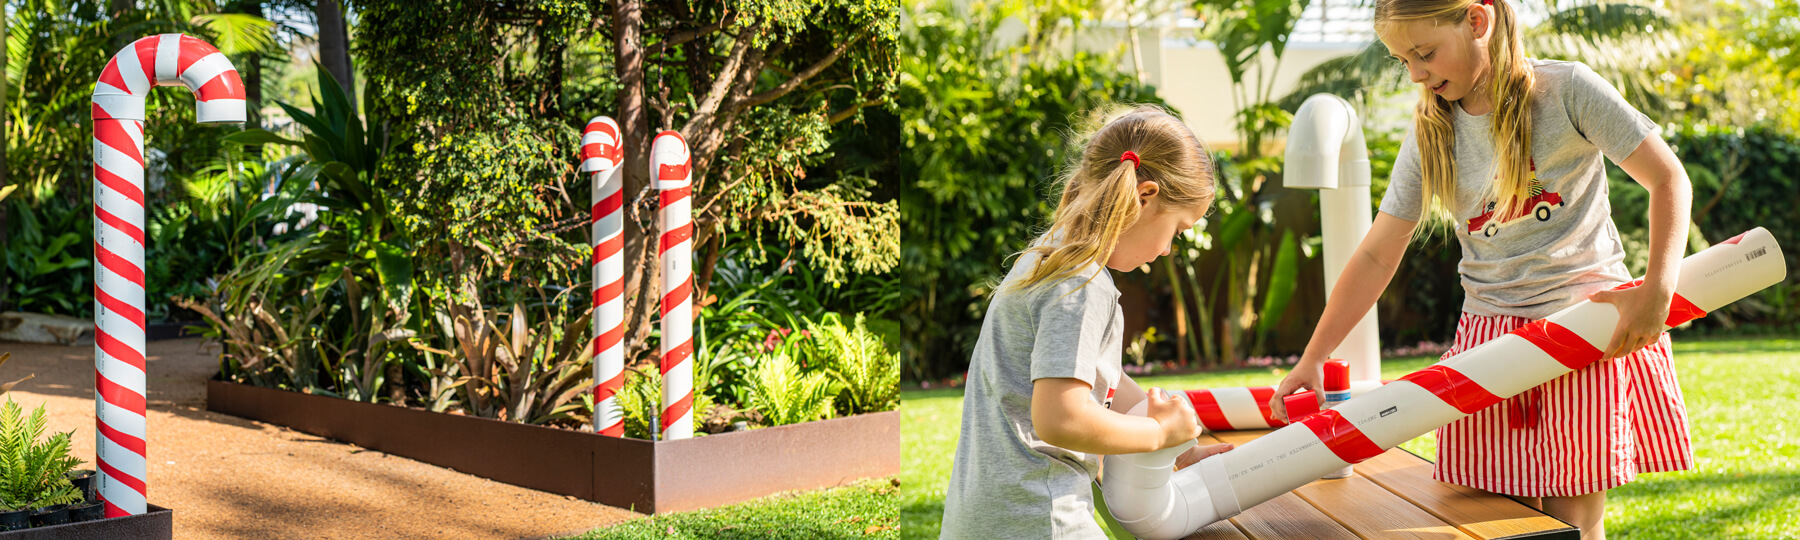
Create a fun DIY PVC Candy Cane with the whole family! Made with only three to four different items, this quick project will have your garden ready for Christmas in no time.
WHAT YOU’LL NEED:

We made two different sized canes, for a smaller cane (90mm) follow our steps for ‘Taped Candy Cane‘, this roughly added up to $28. To make the large candy cane (100mm), follow our steps for ‘Painted Candy Cane‘, this added up to around $60. For a smoother finish, tape your candy cane first, then use red spray paint to add the stripes. Or if you are time-sensitive, red duct tape does the trick just as well!
TAPED CANDY CANE SHOPPING LIST:
PAINTED CANDY CANE SHOPPING LIST:
TAPED CANDY CANE:

Take the 1m length of 90mm pipe and start adding the 45º elbows to the top. Ensure that the groove (Female side) is always connected first.

As this candy cane is being taped, there is no need to use any glue! Join all 4 of the 45º Elbows together to create a 180º bend.

Take the red tape and stick the first piece on a 45º angle at the bottom of the pipe. Fold the bottom corner under the pipe to get a smooth line.

Roll the tape around the pipe and continue up and around the bend. This is easy to do with two people – one person turning the pipe and the other holding the tape. Once the tape is at the top, it is ready to be placed into your garden!
PAINTED CANDY CANE:

Join the two 88º bends to the top of the 100mm pipe. These will slot in secure enough to not use any glue. Add your tape of choice to the pipe and bends to prepare the cane for spraying!
* Lay down cardboard or a tarp to protect surfaces from being sprayed with excess paint.

It’s time to start spraying with paint! If you are making this project with children, make sure to use spray paint when under adult supervision. We recommend only using water-based paint as it can be easily washed off hands if needed.

Continue to spray the cane until it is completely covered. This paint is fast drying (around 30 minutes) with one coat of paint. Ensure the paint is completely dry before removing the tape.

Start peeling off the tape beginning at the bend. Is it easiest to remove the tape while the cane is standing upright. Remove the tape and dispose of it responsibly. The candy cane is now ready to add to your garden!
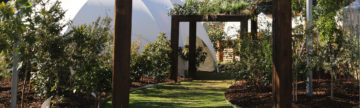
ADD TO YOUR GARDEN:


If placed in garden beds, push the bottom of the pipe into the soil. Move around the canes or stagger where needed. If placed on a flat surface, you can add a grate to the bottom and fill the cane with sand or rocks to stop them from falling over! Use this grate for the taped cane, and this grate for the painted cane. Consider adding fairy lights or garden lighting to these to really make them pop!