Learn how to adjust the spray arc, flow radius and how to replace a nozzle on the Holman Professional Gear Drive Pop Up Sprinkler.
The Holman Professional Gear Drive Sprinkler (SH7500) is high quality, durable and reliable sprinkler designed for basic residential and light commercial applications. This Gear Drive Sprinkler comes included with an adjustment key and replacement nozzle rack.
MAKING ADJUSTMENTS
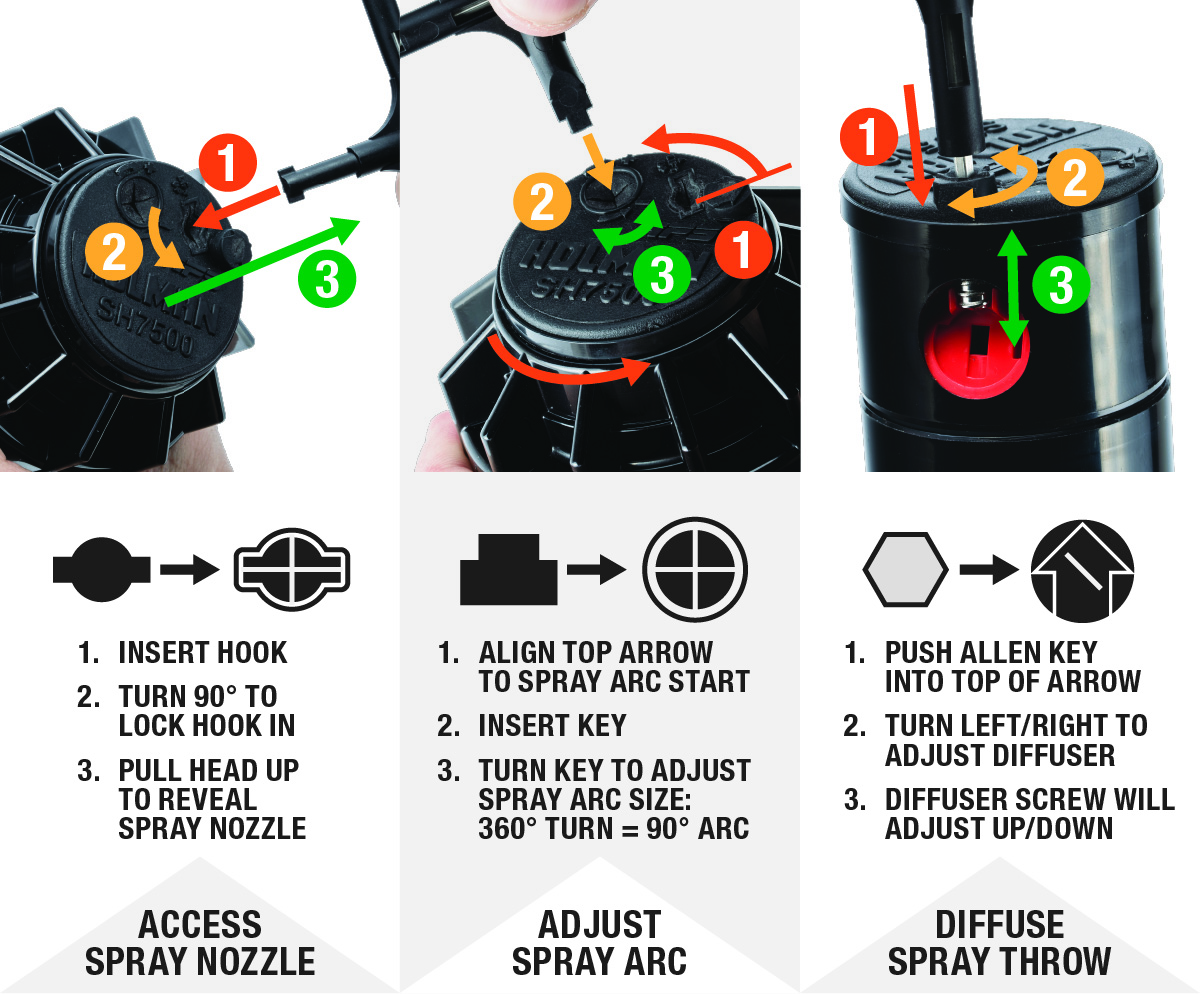
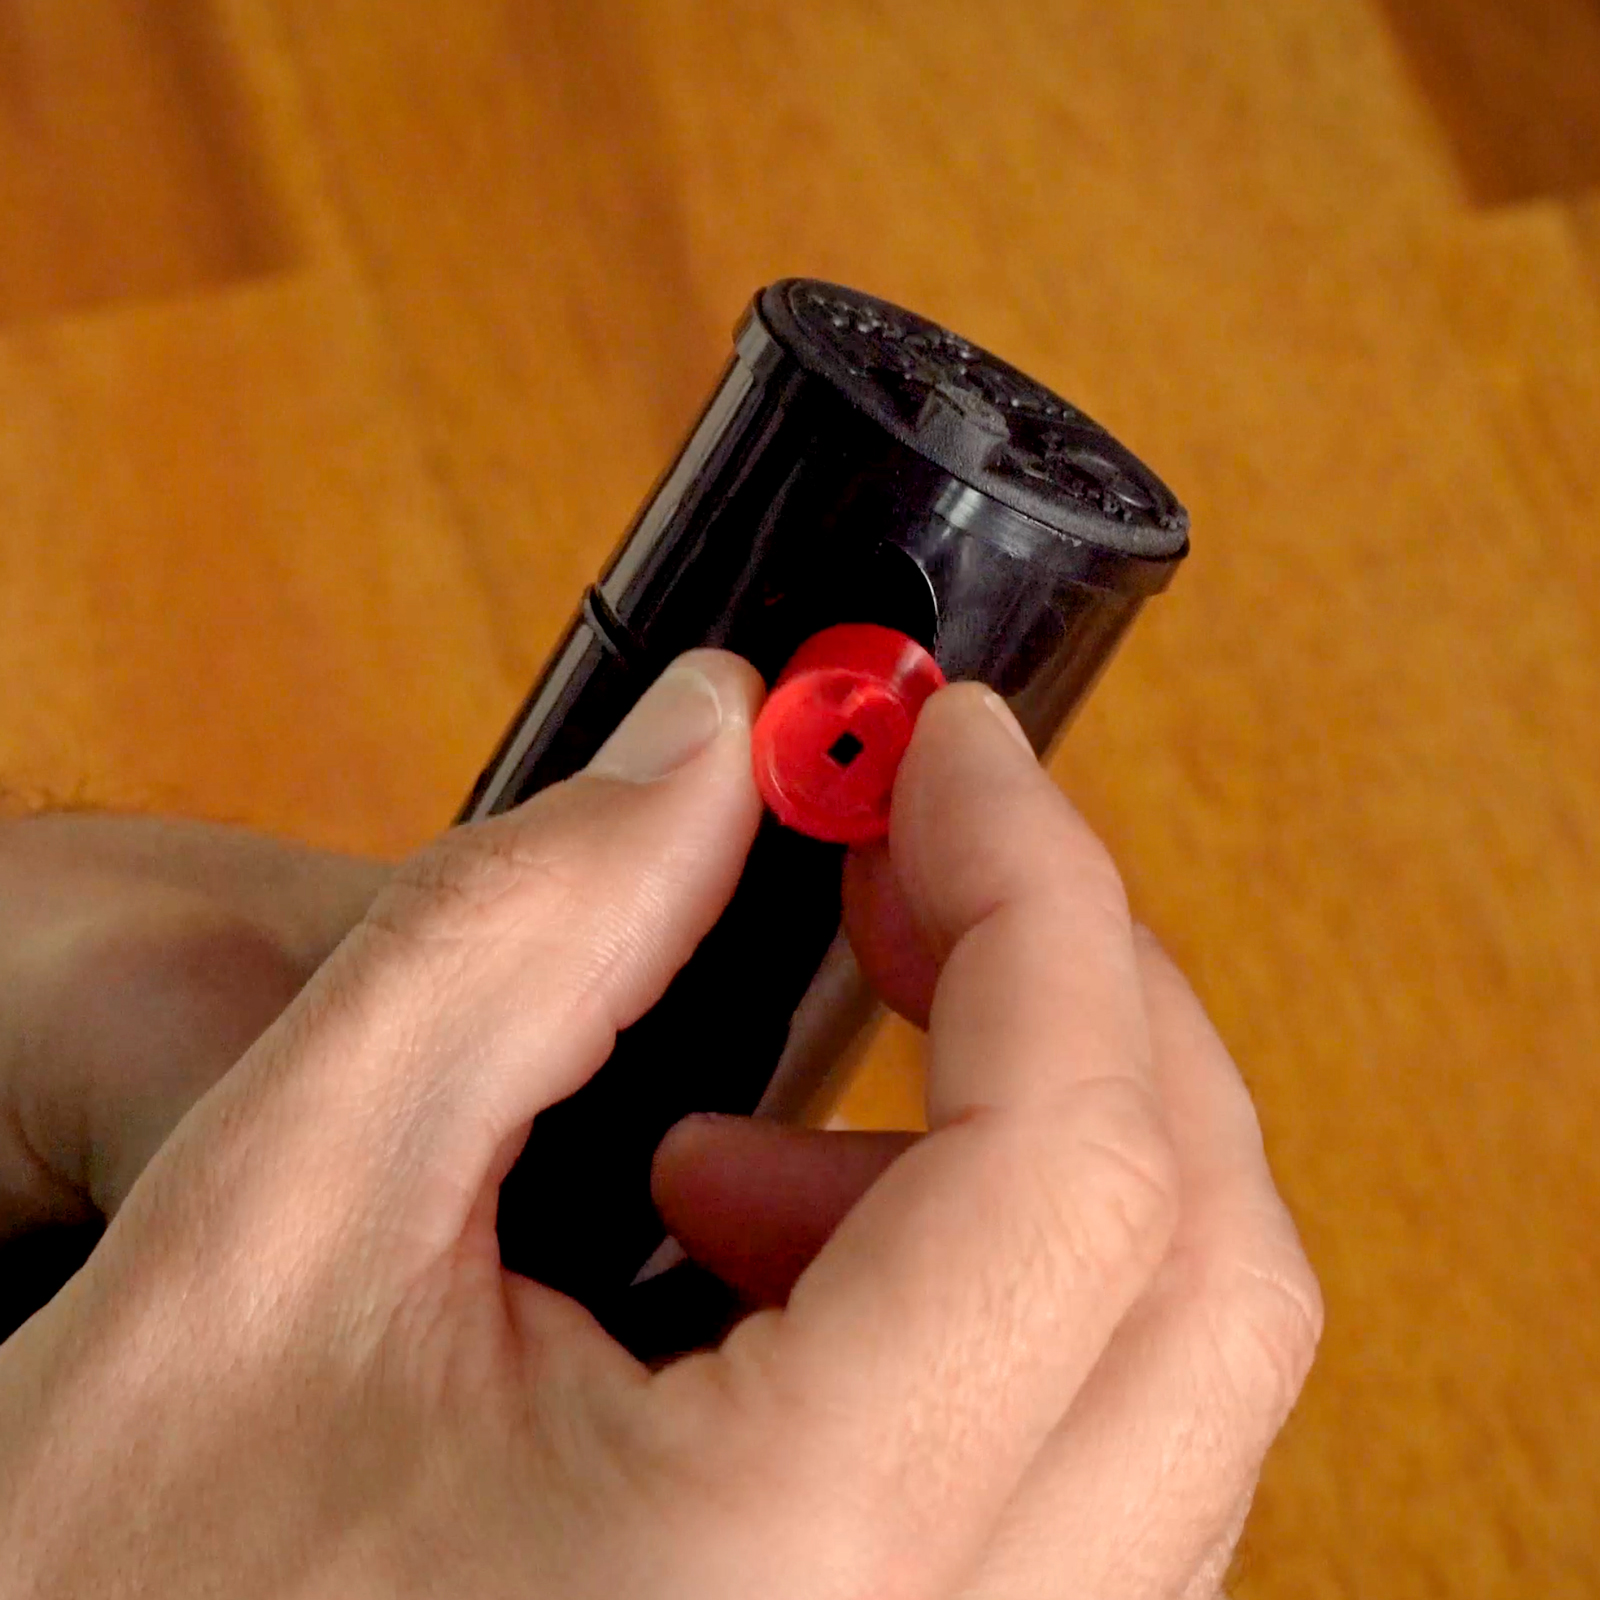
The Gear Drive Sprinkler comes pre-set with a 180º arc setting, it has a fixed right start and an adjustable left stop as well. In order to make any adjustments to the Gear Drive Sprinkler, you will need to use the riser side of the Adjustment Key to remove the riser from the barrel. This will also give you access to the spray nozzle (* Image 1).
If you are adjusting your spray arc after interrupting a rotation cycle, you will need to rotate the sprinkler head anti-clockwise until you reach the left stop. Once the sprinkler head has been rotated all the way to the left stop, you can now rotate it clockwise until you reach the right start again. This is the fixed side of the arc and it must be in this position in order for you to make any arc adjustments.
INCREASING THE ARC
In order to increase the arc, we will need to use the part of the key that has a + shape (* Image 2). Insert this end into the arc set adjustment slot and rotate clockwise while holding the sprinkler head. Each 360º turn that you complete will increase the arc by 90º, the arc is adjustable from 40º up to 360º. When you reach 360º the key will stop turning or you will hear a ratcheting noise.
DECREASING THE ARC
To decrease the arc, follow the same steps as before, except this time rotate the key anti-clockwise. Each 360º turn that you complete will decrease the arc by 90º, the arc is able to be adjusted between 40º and 360º. When you reach 40º the key will stop turning or you will hear a ratcheting noise.
ADJUSTING THE THROW RADIUS
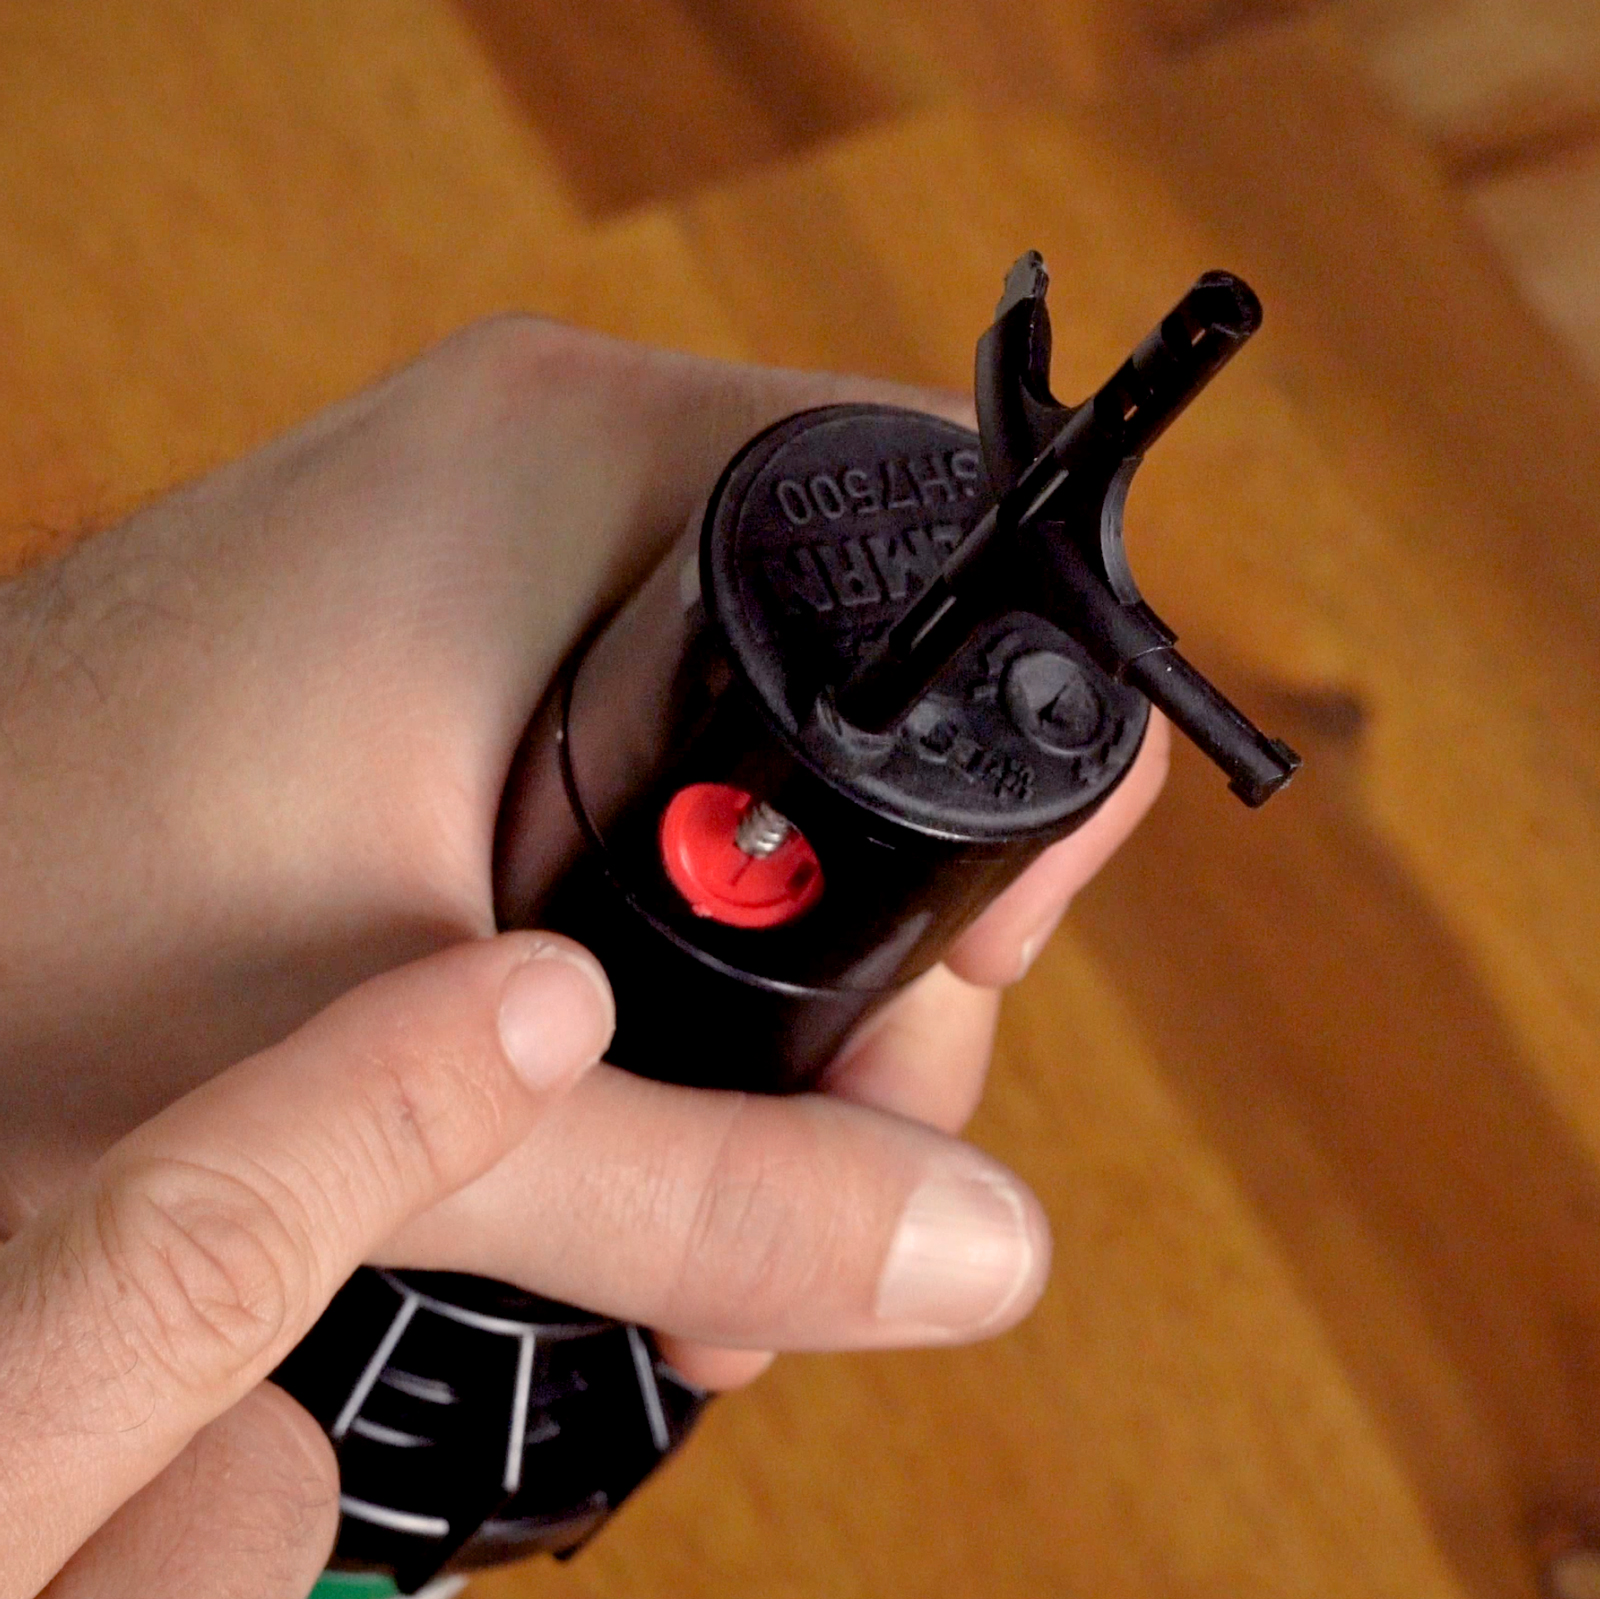
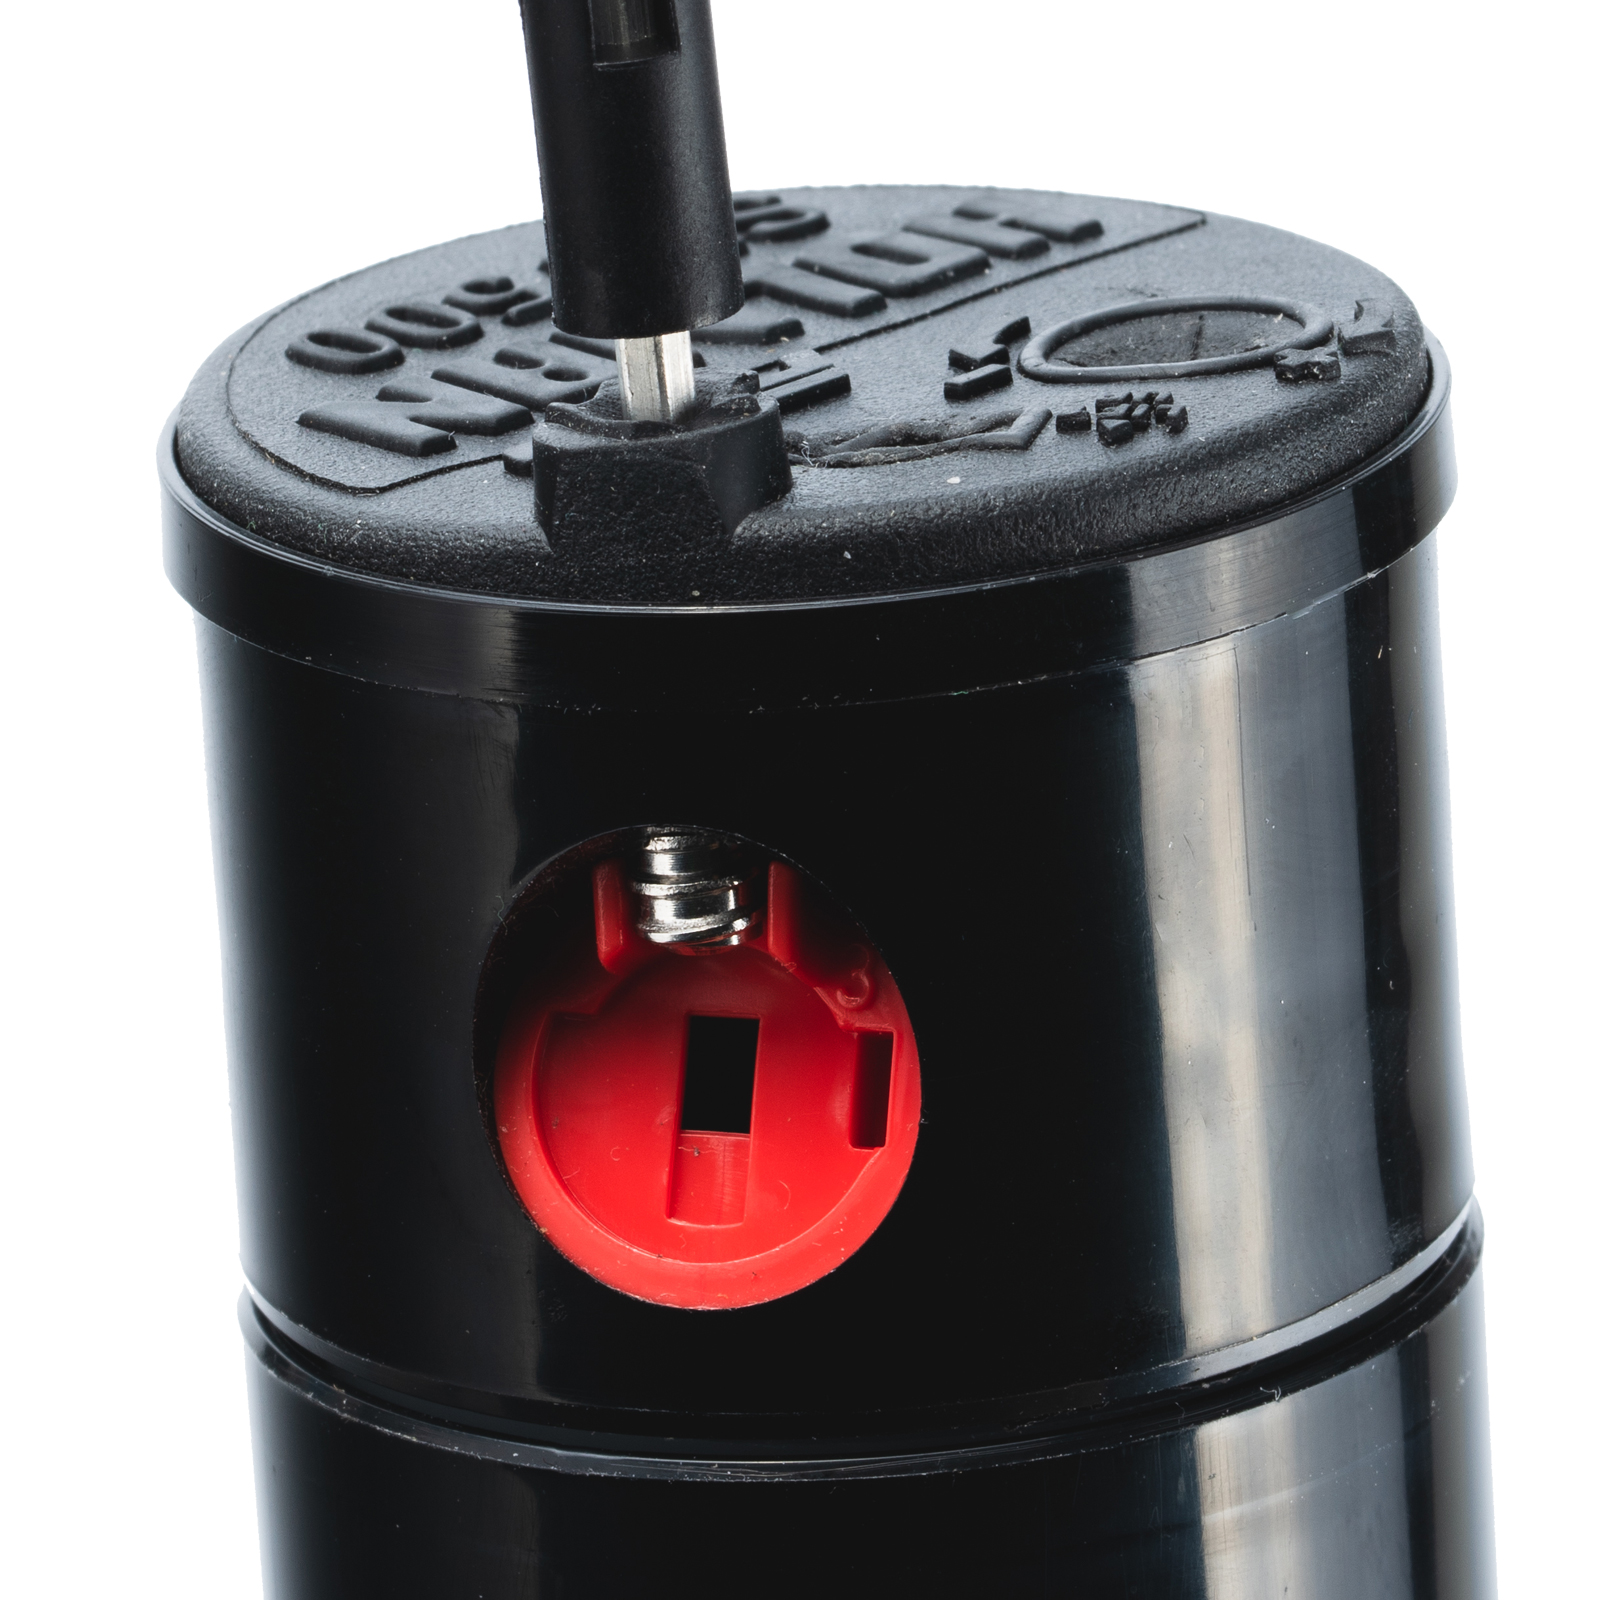
To change the distance of the flow stream, insert the diffuser pin side of the Adjustment Key into the slot and turn the key clockwise (* Image 3). This will move the diffuser pin down, resulting in a decreased flow and a smaller throw radius. To increase the flow again, turn the key counter-clockwise to move the diffuser pin back up.
Note: As the radius is decreased the flow rate will also decrease, if you turn the key clockwise until it stops, you will completely shut off the head.
REPLACING A NOZZLE
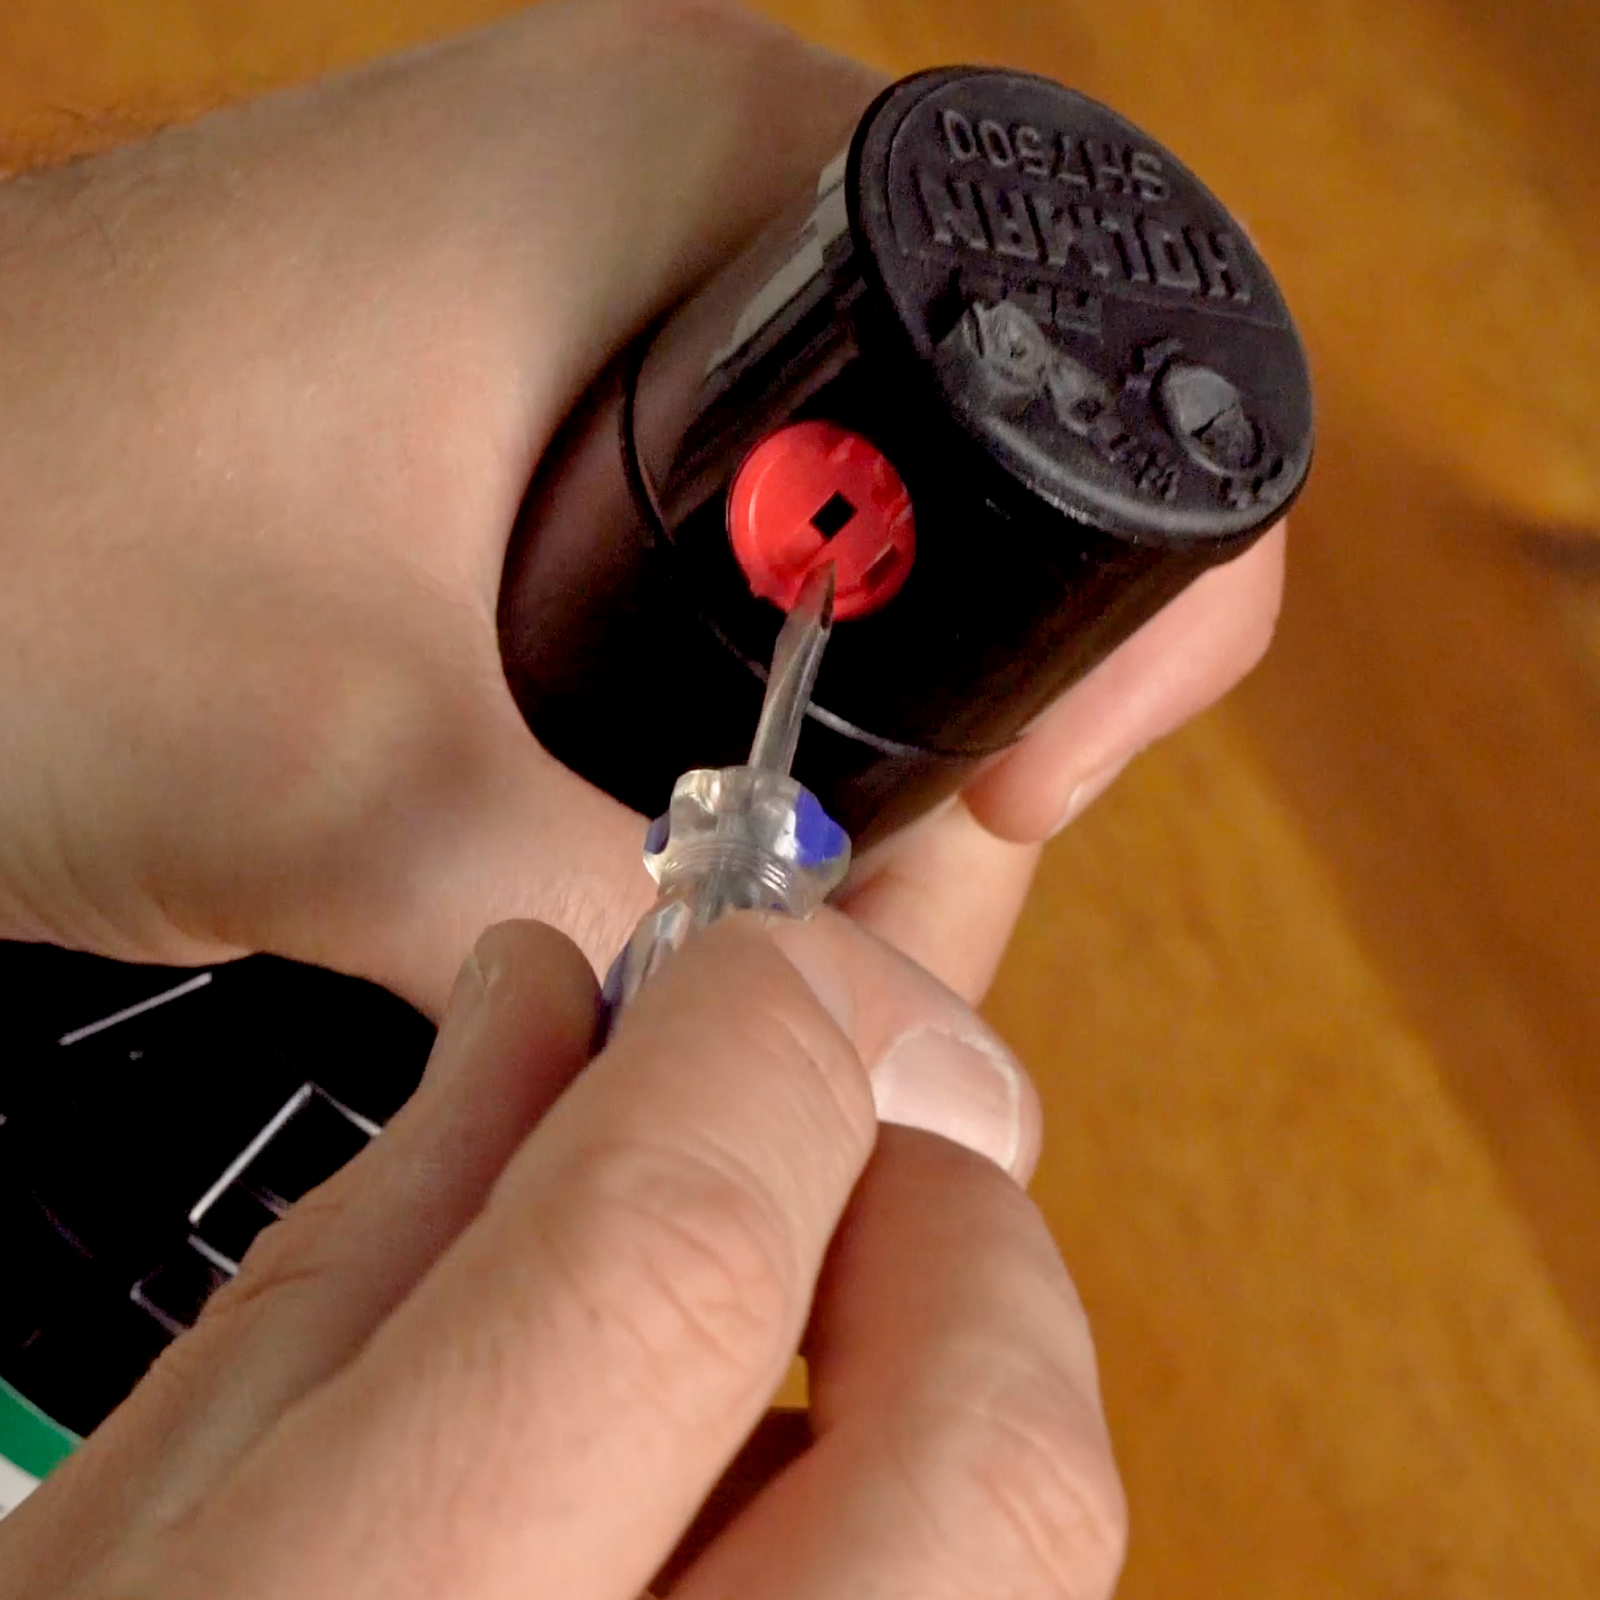
This Sprinkler comes with a nozzle rack including 12 different nozzles with various flow options. In order to change out a nozzle you will need a flat head screwdriver. First ensure that the diffuser pin is dialed all of the way up, so you can remove the nozzle. Using the flat head screwdriver, insert this into the middle of the nozzle and gently wiggle the nozzle out. Choose the required replacement nozzle and remove it from the nozzle rack. Align the nozzle and ensure the space for the diffuser pin is located at the top. Simply slot and push the replacement nozzle back in.


 No products in the cart.
how do you fix when your sprinkler head does not turn
Hi Les, we are sorry that you are experiencing issues with your sprinkler. If you can please get in touch with our customer service team at support@holmanindustries.com.au they will be able to help you with any problems you are facing. Thanks, Dayna.